Chicken Spinach Artichoke “Lasagna” by Stephanie’s Recipes

Standard

Hi Everyone,

One of my good friends, brought over a bowl of absolutely delicious Chicken Spinach Artichoke “Lasagna” for Jesse and I this weekend. Since Saturday I have been eating it every day. Jesse asked for some today…I told him I finished the leftovers for lunch today. It was so good that I might have eaten it all…without sharing any with him. Whoops!

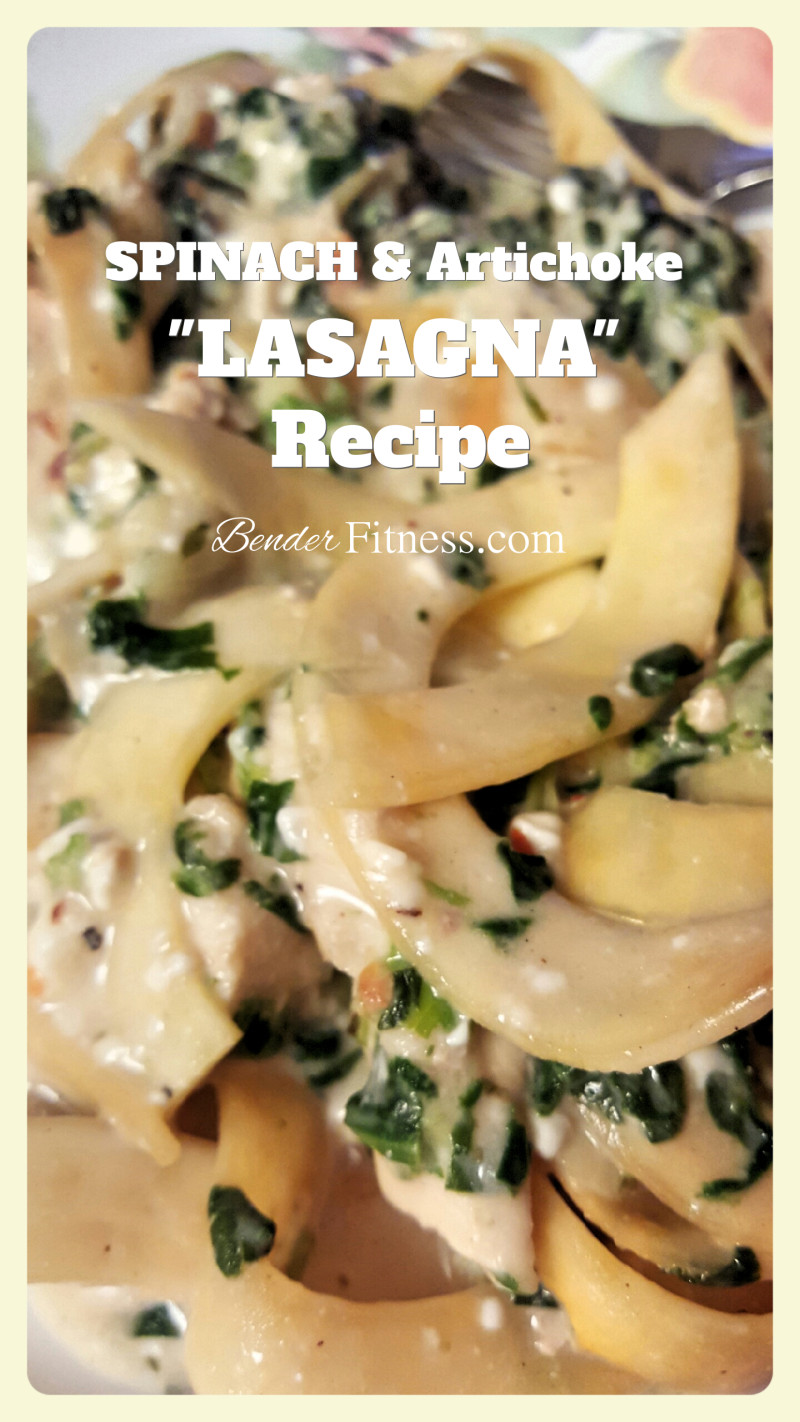
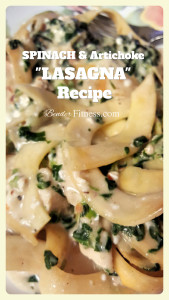
I enjoyed eating it so much that I forgot to take a picture! Luckily, I have the teaser picture that Stephanie sent me when she told me she was bringing some over for me (us).

Stephanie did all of the hard work, writing, and cooking this recipe. I just got the benefits of eating, but she was happy to share the recipe with all of you. In fact, I have a few more of Stephanie’s Recipes that will be popping up on BenderFitness.com over the next few weeks!

This recipe uses a Rutabaga (apparently they are called Swedes outside of the USA). I have never cooked with Rutabaga before, but it was delicious. In the past, when I made Lasagna with vegetables instead of noodles, I have always used sliced Zucchini. This was a delicious change.

Rutabaga’s are high in antioxidants, fiber, Vitamin C, potassium and zinc. It is a low calorie, nutrient rich food, that can help you feel full and help boost weight loss. One resource I found online stated that Rutabaga helps decrease PMS symptoms and improves endurance.

I will definitely be making this recipe again. Do you cook with Rutabaga? Any good recipes to share? Let me know in the comments below! You can also find me on Instagram and Twitter: @BenderFitness and on Facebook: www.facebook.com/MelissaBenderFitness.

Remember, part of creating a Fit and Healthy Lifestyle includes making foods that you will enjoy. Don’t be afraid to experiment with new things! If you like what you are eating you are more likely to create a healthy and sustainable diet. Often there are small adjustments that can make traditionally decadent or high calorie meals a little bit healthier.

Happy Cooking!
Melissa

PS I have several more recipes from Stephanie that I will be posting over the next few weeks, so be sure to check back!
spinach artichoke lasagana nutrition info

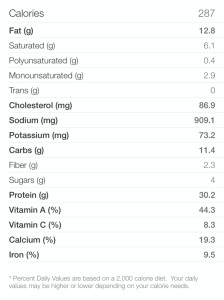
Nutrition Info for Spinach Artichoke Lasagna-Based on 9 Servings-Using MyFitnessPal.com Recipe Importer

Ingredients: Makes 8-10 Servings

1 lb chicken breasts
2 boxes frozen spinach
1 can artichoke hearts
4 oz cream cheese
2 cup low fat cottage cheese
1 large rutabega
1 jar alfredo sauce
1/4 cup parmesan cheese
1/4 cup mozzarella cheese
1 tablespoon olive oil-divided in half

Salt, pepper, garlic powder, red pepper flakes

  • Season chicken with salt, pepper, garlic powder and red pepper flakes. Heat half of the Olive Oil (1/2 Tablespoon) in a large skillet. Add chicken. When fully cooked, set aside. When cooled, slice chicken into strips.
  • Peel Rutabaga and spiralize with large noodle blade, or slice thinly. Add the rest (1/2 Tablespoon) Olive Oil to skillet and cook rutabaga until soft (approximately 5-10 minutes). Set aside.
  • Cook spinach and drain well.
  • In a Large Bowl, combine cream cheese, cottage cheese, spinach (cooked and drained well), artichoke hearts (drained and roughly chopped), and cheeses. Season to taste with salt, pepper, garlic powder and red pepper flakes.
  • In a Greased 9X12 inch pan, spread layer of Alfredo Sauce. Add layer of rutabaga, layer of sliced chicken strips, then Spinach Artichoke Mix. Continue to layer, ending with artichoke mixture. If desired sprinkle the top with extra cheese.
  • Bake at 375 degrees 45 minutes-1 hour.

Enjoy!
spinach artichoke lasagna recipe

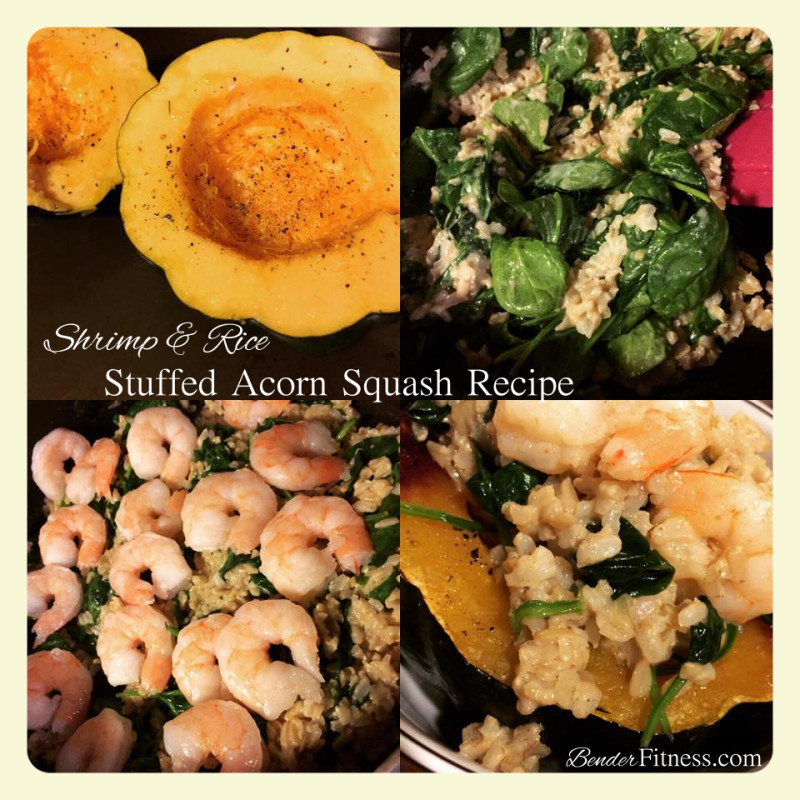
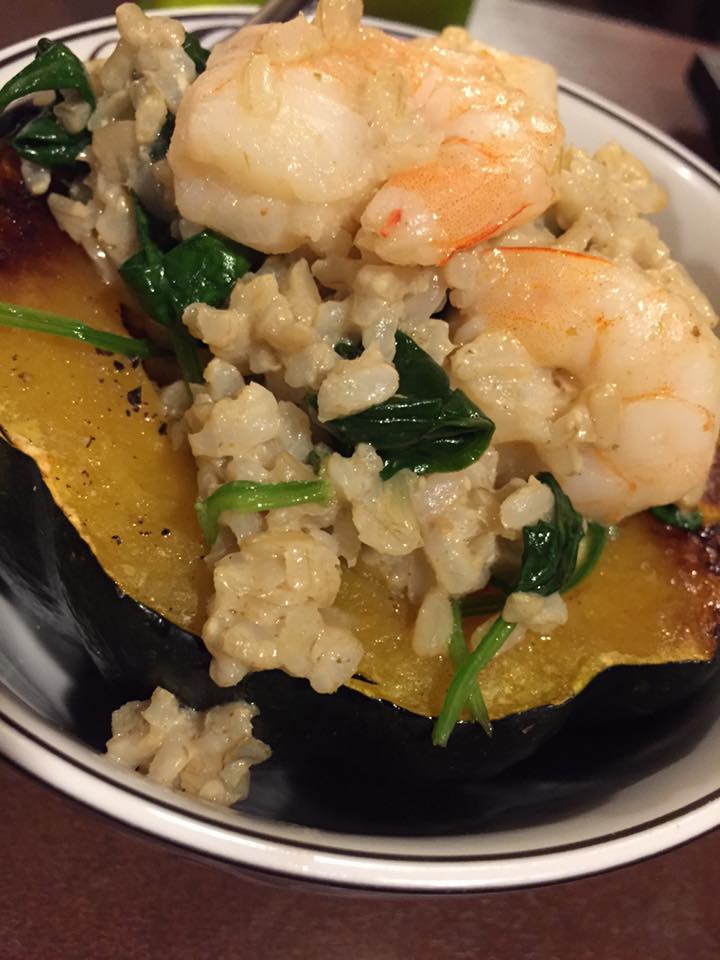
Shrimp & Rice Stuffed Acorn Squash

Standard

Hi Everyone!

If you are looking for my latest workout you can find it here: 18-Minute HIIT Fat Burn: Cardio Blasting Body Sculpt Workout. If you’re here for a delicious & healthy recipe, you are at the right place! Posting this recipe is making me hungry!

This meal is delicious, healthy & filling. You can vary the seasoning for a different flavor. As the weather cools I like to add some spice to my food, so I used some green curry paste in this recipe for flavor and spice.

If you don’t have those items in your cabinet, or you just aren’t a fan of those flavors, don’t worry! You can substitute Olive Oil & Garlic, and even add some onion for extra flavor. Don’t like Shrimp? Use Chicken instead.  Vegetarian? Skip the protein or add some black beans for a non-meat protein alternative! It’s good to have options.

I originally planned to stuff my Squash with Quinoa. I was out of Quinoa, so that recipe will have to wait for another day.

acorn squash recipe 5

Yum!

Fall is a great season for squash, and I love to fill up on seasonal vegetables. One of my favorites is Acorn Squash. It’s easy to find at most Farmer’s Markets or grocery stores & it’s very simple to cook. It’s great any time, but it also makes a good festive addition to the Thanksgiving table. Plus, it’s very nutrient dense and is great for your immune system, and it’s pretty! I love meals with a lot of color (it’s a great sign that you are getting a wide variety of nutrients).

I’m a busy person, so I like recipes that are delicious and simple. If I am able to cook everything in one pan it gets bonus points, because I won’t have as much to clean up afterwards! This recipe is simple & doesn’t make a big mess.

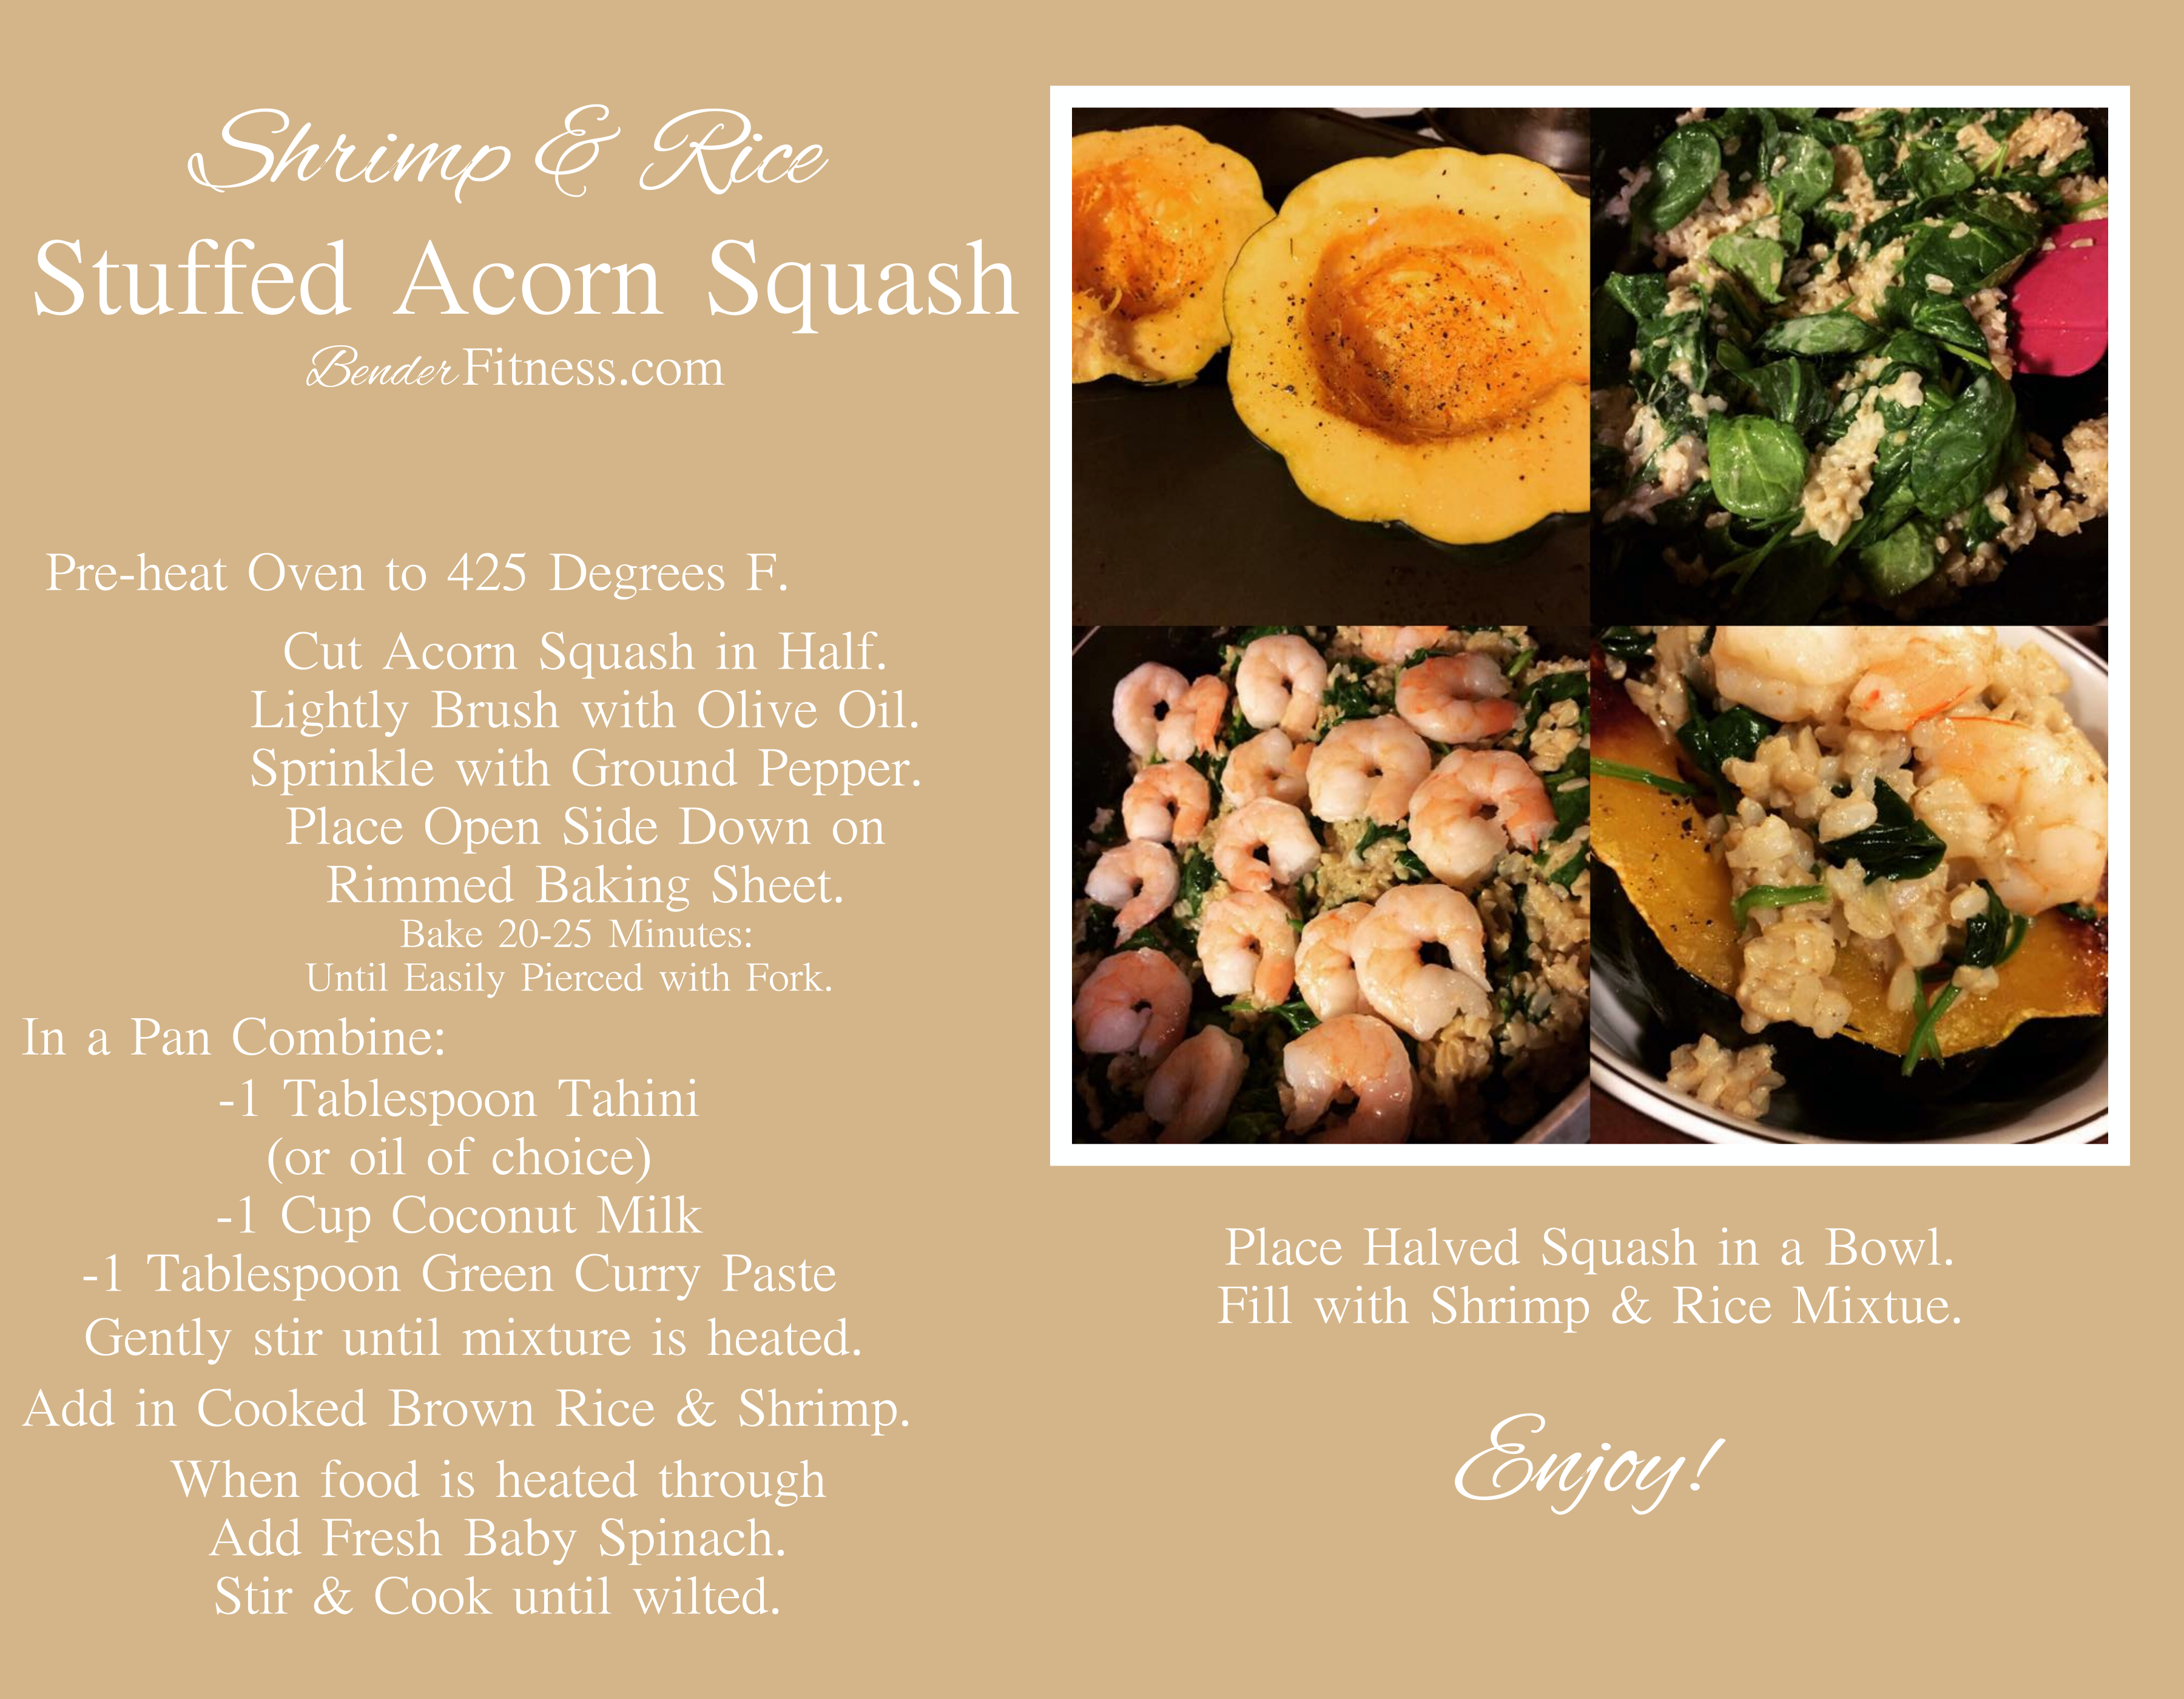
With the photos below I have step by step directions, or you can use this handy print out. You can write in any modifications you make to the recipe. I tend to do some of my measuring by eye, so feel free to adjust the portion sizes for your needs. I’m a fan of leftovers, because I like taking it to work with me as a healthy and filling lunch the next day (or two days).

Enjoy! The recipe is below!
Melissa

acorn squash_recipe print out

Click to Make Larger. Print or Bookmark for Easy Access.

Ingredients for Spicy Curry Style:

-Acorn Squash (1 Squash Makes 2 Servings)
-1 Tablespoon Tahini
-1 Tablespoon Green Curry Paste
-1 Cup Coconut Milk
-1-2 Cups Cooked Brown Rice (I made extra filling for leftovers)
-6-12 oz. Cooked Shrimp (tails removed) or Protein of choice (chicken, black beans, etc)
-2-4 Cups Fresh Baby Spinach

Ingredients for Garlic Shrimp & Rice Style:

-Acorn Squash (1 Squash Makes 2 Servings)
-1 Tablespoon Extra Virgin Olive Oil
-1 Tablespoon Minced Garlic (Vary to taste)
-Diced Onion (optional)
-6-12 oz. Cooked Shrimp (tails removed) or Protein of choice (chicken, black beans, etc)
-1-2 Cups Cooked Brown Rice (I made extra filling for leftovers)
-2-4 Cups Fresh Baby Spinach

Preheat Oven to 425 degrees F.

Cut Squash in Half & Remove Seeds.
Lightly Brush with Olive Oil & Sprinkle with Fresh Cracked Pepper.
Place Face Down on Baking Sheet.
Bake 20-25 Minutes or Until Easily Pierced with a Fork.

On the Stove heat your oil & spices of choice. (For Curry version, add Coconut Milk after Spices & oil are heated and stirred together).
If you are sautéing onions, thoroughly cook before adding garlic.
Add cooked protein of choice.
Stir in Cooked Brown Rice & Spinach.
Cook Until Spinach Wilts.
Remove from heat.

Take cooked Squash & Place in a Bowl. Fill with rice mixture.
Enjoy!
 

acorn squash recipe 1

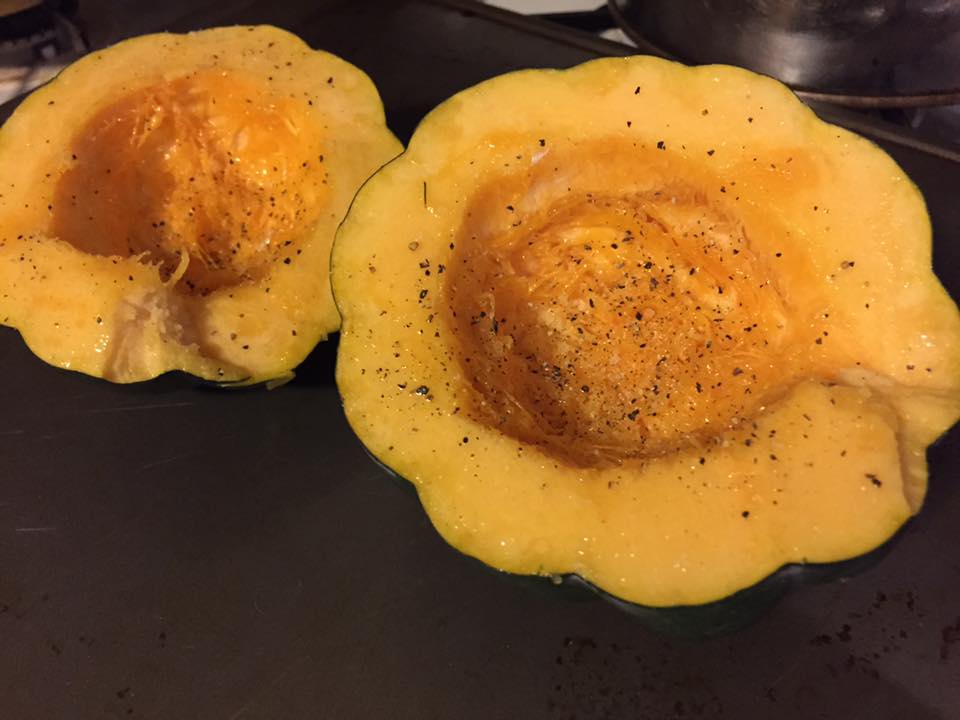
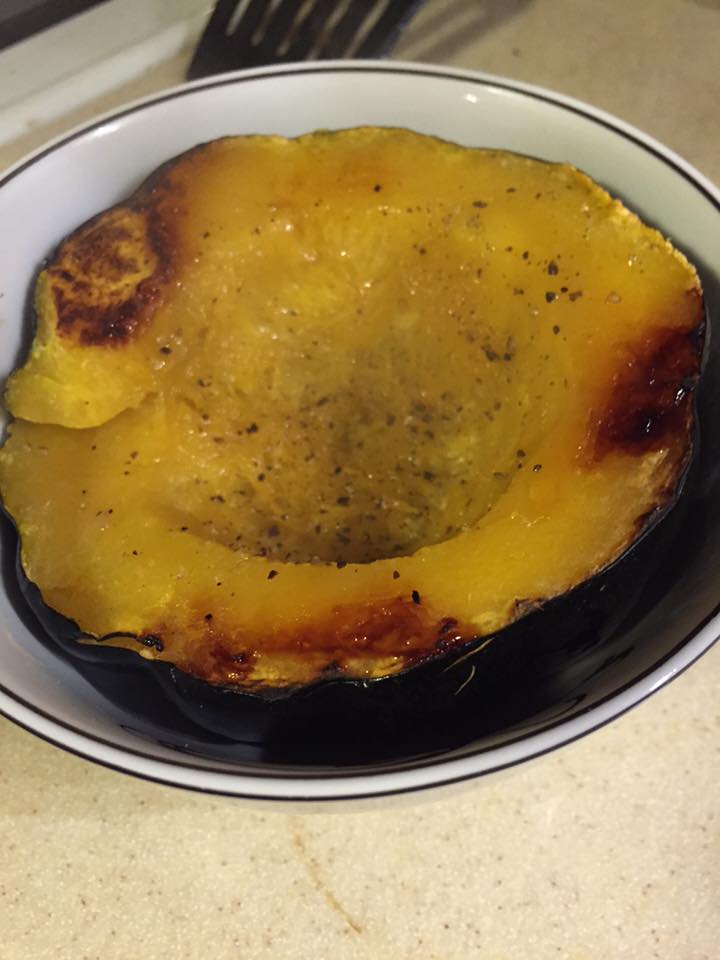
Cut Acorn Squash in half and remove seeds. Lightly brush with extra virgin olive oil. Sprinkle with fresh cracked pepper. Place facedown on rimmed baking Dish. Bake 20-25 Minutes or until easily pierced with a fork.

acorn squash recipe 2

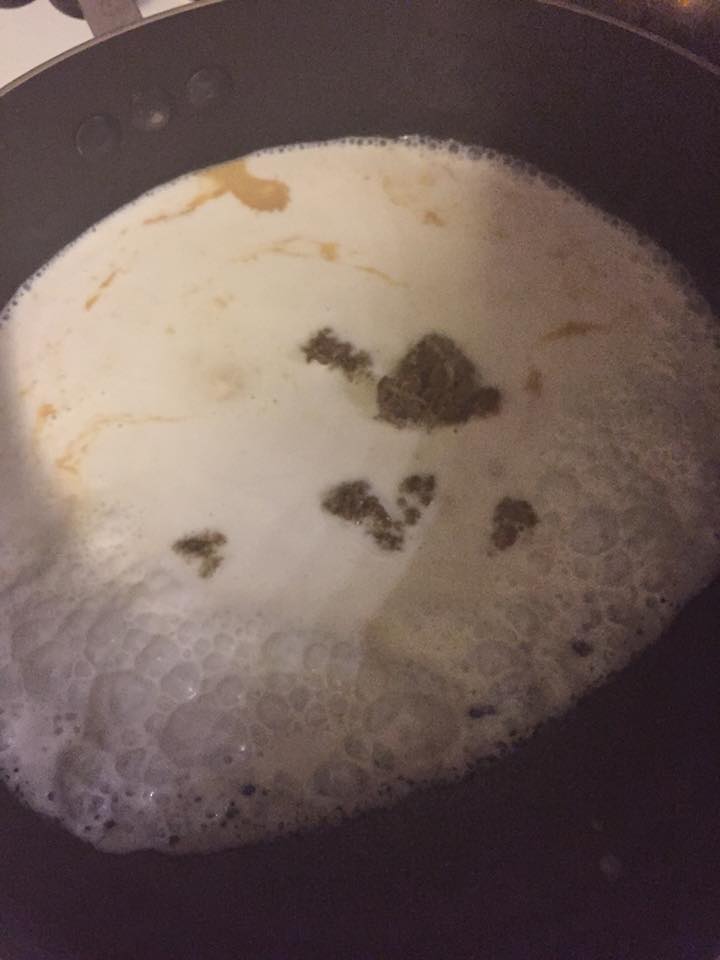
In a Pan gently heat Oil, Spices, & coconut milk. If you chose the non-curry version of the recipe heat oil and onion. Once onion is cooked through add garlic. Heat & add protein of choice.

acorn squash recipe 3

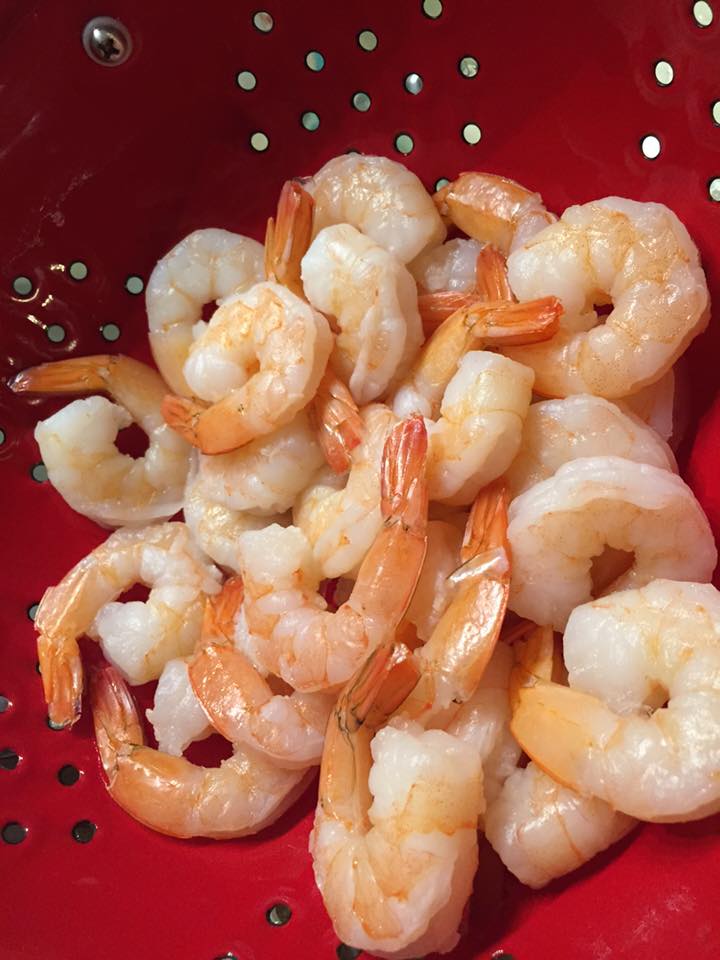
Rinse cooked shrimp well, and remove tails.

acorn squash recipe 7

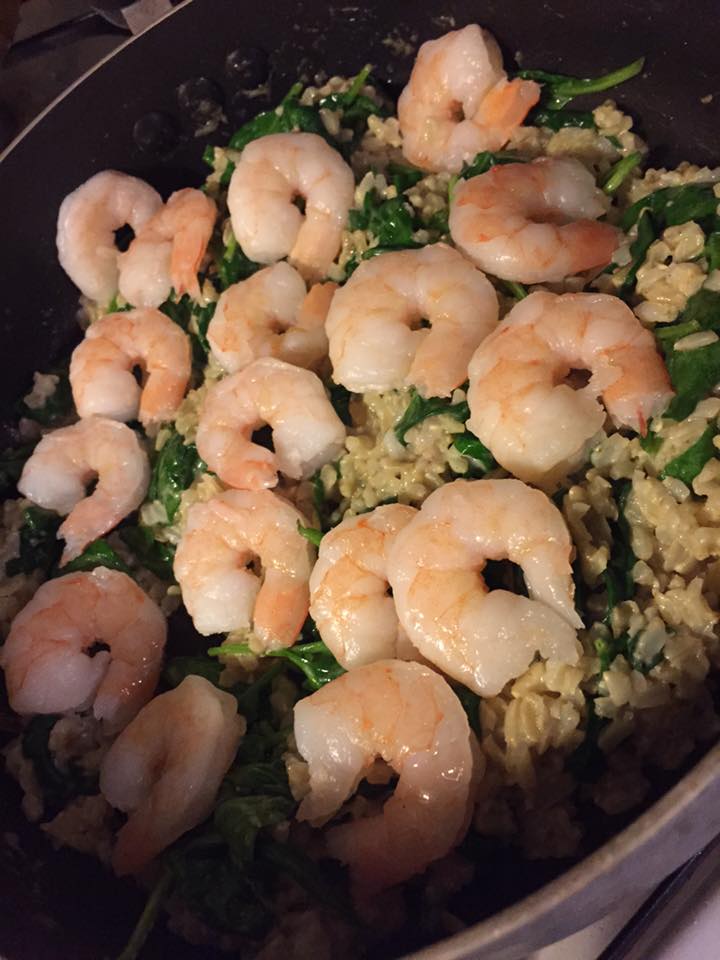
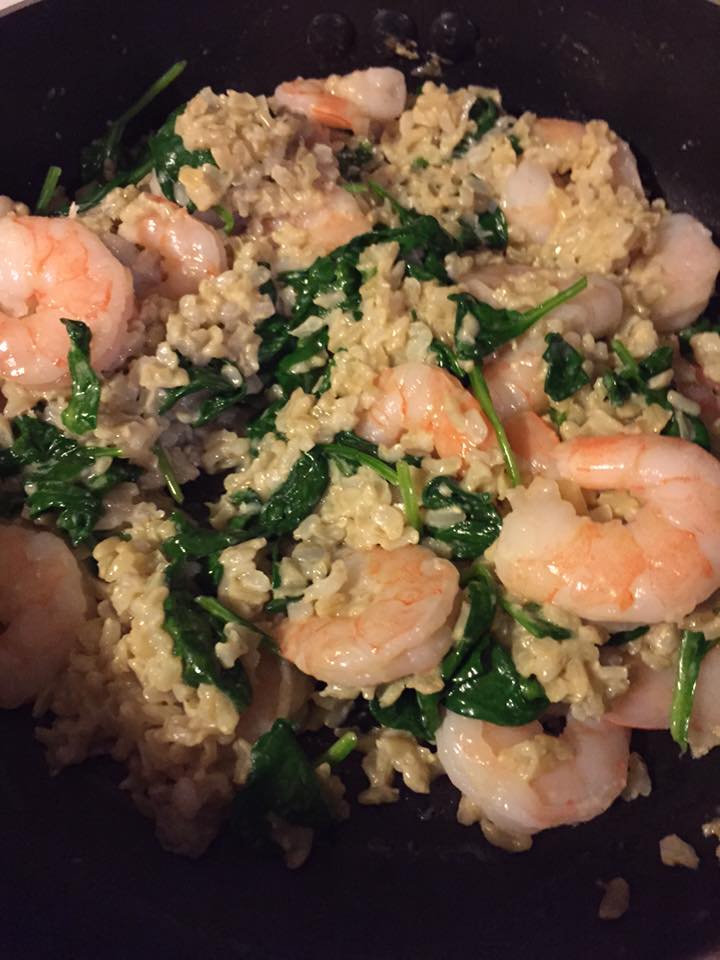
Add Shrimp & Rice to Pan. When throughly heated add Fresh spinach and cook until wilted. For non-curry version, add rice and spinach and cook until spinach is wilted. Stirring often.

acorn squash recipe 8

Remove Cooked Squash from oven & Place in a bowl. Be careful, it’s hot!

acorn squash recipe 10

Fill the center of the squash & enjoy!


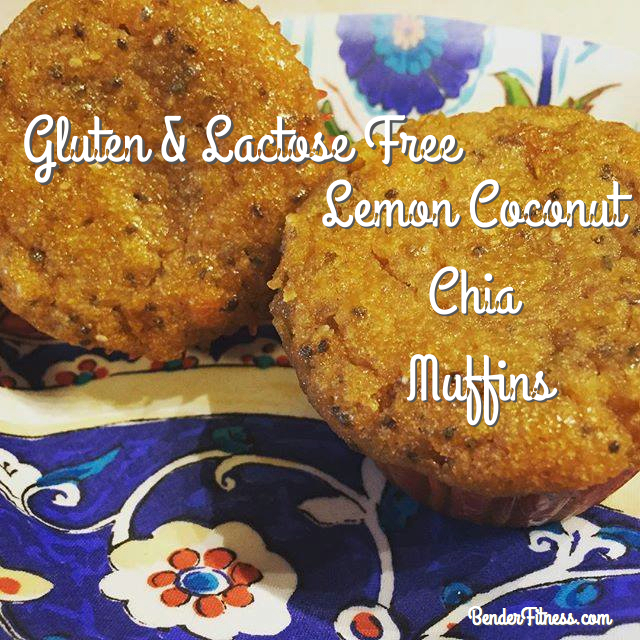
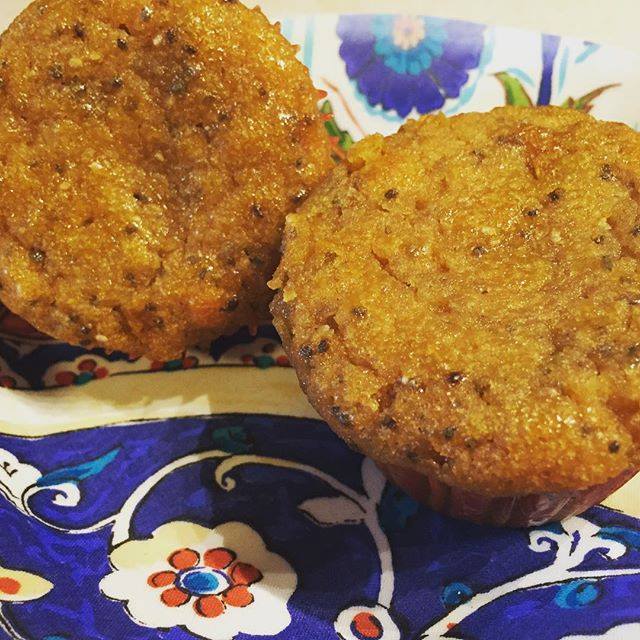
Lemon Coconut Chia Muffins: Gluten & Dairy Free Recipe

Standard

Hi Everyone!

I decided to experiment in the kitchen last night. I wanted to bring in something to share with my friends at work, and it had to be Gluten & Lactose Free. I experimented a bit and came up with these delicious Lemon Coconut Chia Muffins.

I just got in my order from Thrive Market so I had all of the ingredients I needed on hand! I will write more about my experience with Thrive in a full blog post (and share some photos of the items I bought). Currently they are running a special promotion for new marketplace members. They are giving away a free jar of Organic Coconut Oil when you join. If you are interested check it out here.

Now, on to the recipe! You can mix and match muffin ingredients. I love Lemon so that was my choice for flavoring, but you can substitute berries, almond slivers, or other add-ins of choice.

This recipe uses Coconut Flour which is more dense and requires increased moist ingredients. The proportions of the other ingredients will vary if you decide to use another type of flour.


Ingredients

1 Cup Organic Coconut Flour
1/2 tsp Sea Salt
1 tsp Baking Soda
1/2 Cup + 2 tablespoons Honey
1 Cup Coconut Milk (Unsweetened)
6 eggs
1/4 Cup Organic Coconut Oil (melted)
4 tsp Vanilla Extract
1/4 Cup Organic Chia Seeds
Lemon Zest

*I used the peel of one whole lemon for my lemon zest. I would have liked it to have a stronger lemon flavor, so this amount can be increased to taste.

Pre-Heat Oven to 350 degrees F. 

Sift Dry Ingredients (except chia seeds & lemon zest) together in a large bowl.

Whisk or Blend honey, coconut milk, eggs, coconut oil and vanilla.

Stir wet ingredients into the bowl with dry ingredients.

Mix in Chia Seeds & Lemon Zest.

Pour batter into muffin tins (lined or greased). Fill cups 3/4.

Bake 25-30 Minutes. The top of your muffins should turn golden brown.

Remove and cool on a cooling rack.

Time to enjoy!

1908050_995377783840315_221789792784075942_n


Nutrition Information: This information was estimated using Myfitnesspal.com

Per Muffin:

Calories: 245
Fat: 14 g.
Carbohydrate: 23 g.
Dietary Fiber: 5 g.
Protein: 6 g.

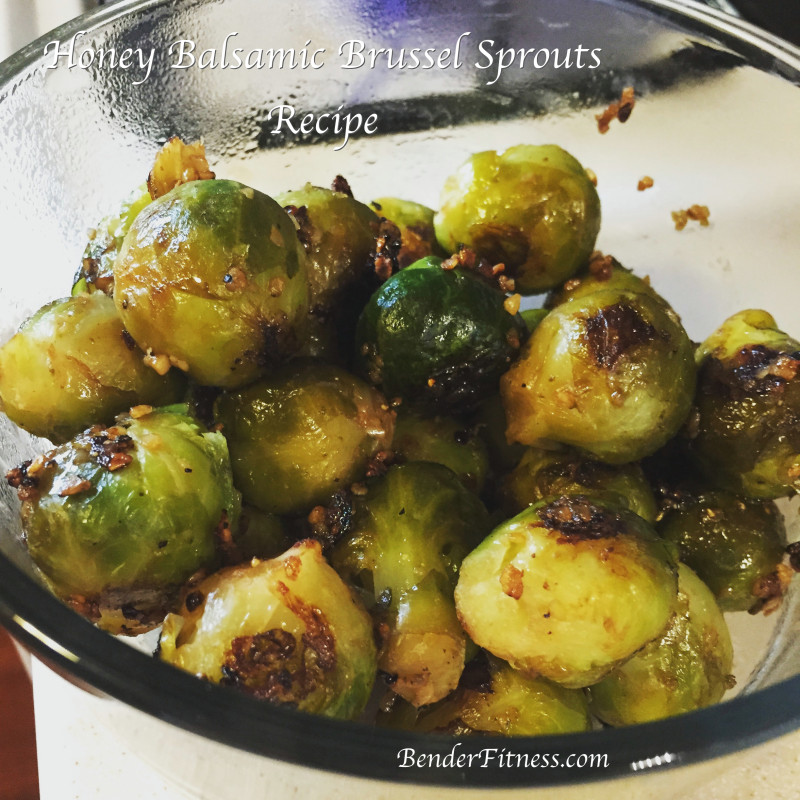
Honey Balsamic Brussel Sprouts Recipe

Standard

Hi Everyone!

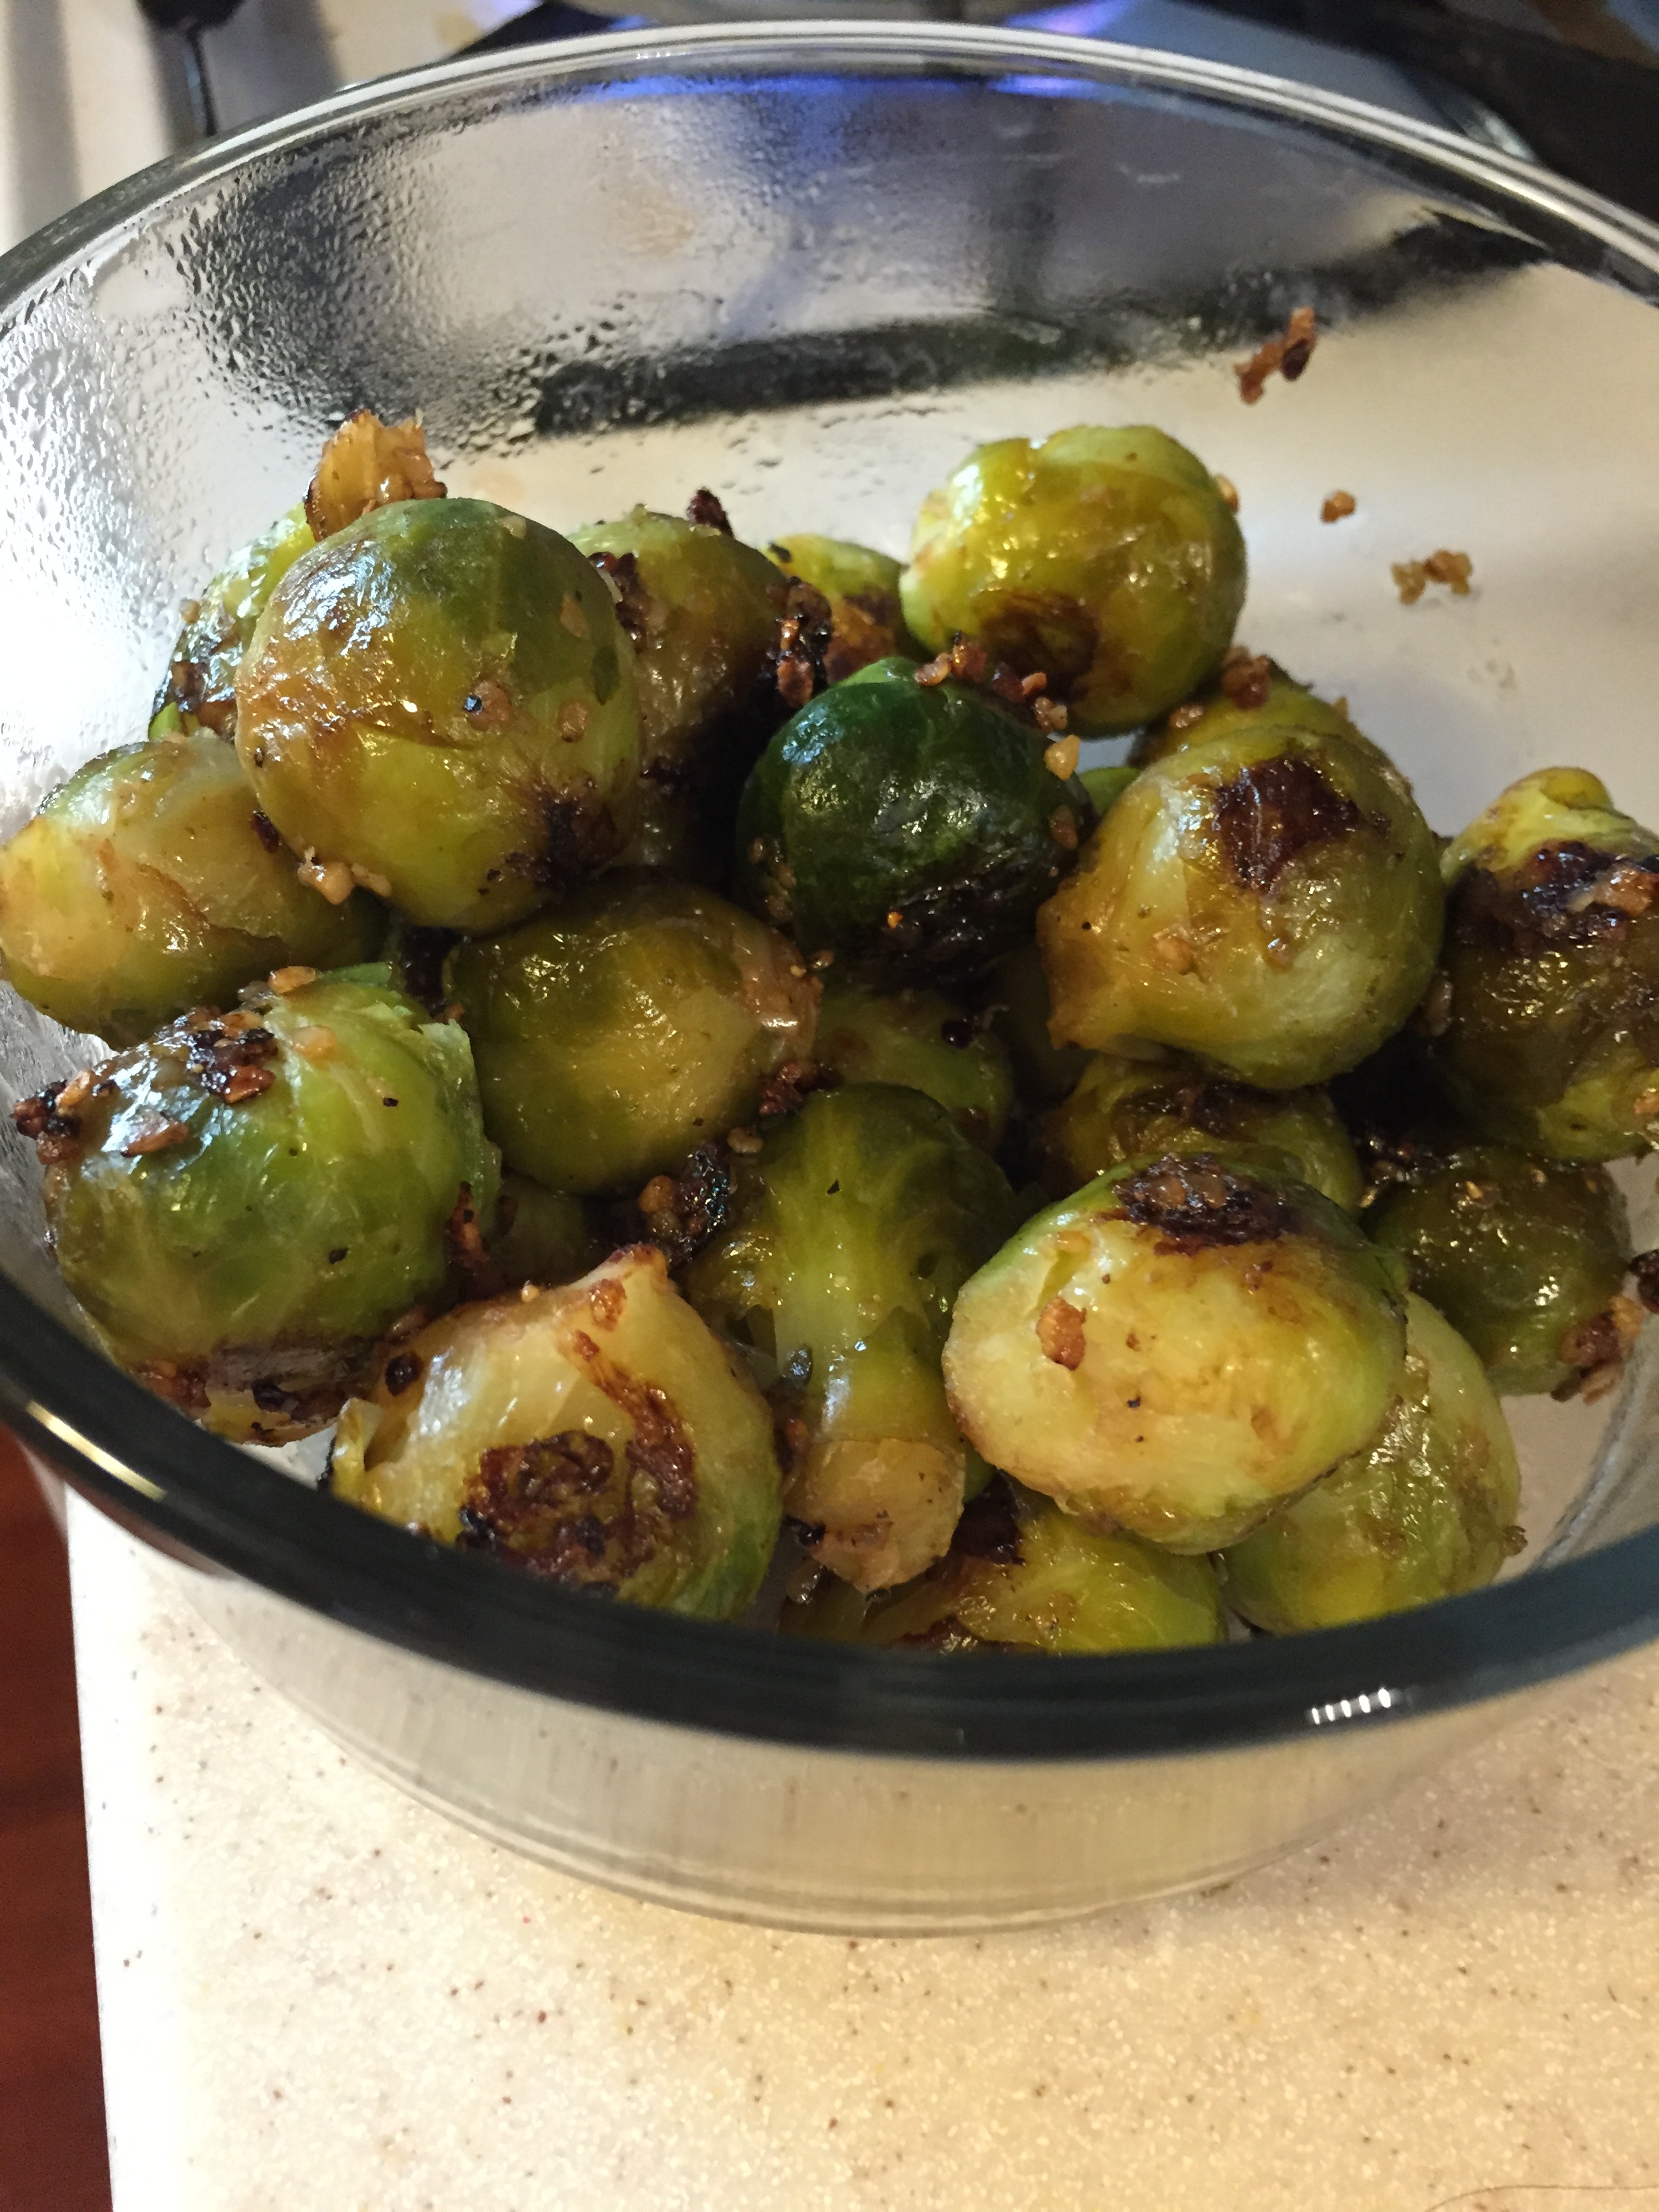
Have you tried Brussel Sprouts lately? A lot of people have been scared of this delicious veggie since childhood! Maybe you just haven’t had it prepared quite the right way!

I am a big fan of Brussel Sprouts. They are full of Vitamins C & K, potassium, dietary fiber and more! Consuming Brussel Sprouts (and other cruciferous vegetables) has been linked to lower rates of cancer. Vitamin C helps improve skin texture and reduces the appearance of wrinkles.

Are you willing to try it yet?

My husband hates brussel sprouts. He can’t even stand the smell of them. Until I tried this recipe.

He walked into the kitchen raving about how good whatever I was cooking smelled. Knowing that he hates brussel sprouts I wasn’t expecting to have to share. I want to keep my husband healthy so we can have a long & happy life together, so I let him have some. Even though I could have gladly eaten them all by myself.

I hope you enjoy this recipe as much as we did! If you have another variation of brussel sprouts that you love feel free to post it in the comments below!

Melissa

IMG_2962

Ingredients:

About 12-16 oz. Brussel Sprouts
1 Tablespoon Extra Virgin Olive Oil
2-3 Tablespoons Balsamic Vinegar
2 Tablespoons Minced Garlic
1 Tablespoon Honey
Sea Salt & Black Pepper to Taste

You can choose to bake your brussels or cook them on the stove.

*Hint: If you are in a hurry, use a bag of frozen steamable brussel sprouts. Pre-cook in the microwave according to directions on the bag. Decrease cooking time on stovetop.

*If you are using fresh brussels, trim the ends and remove any old leaves from the outside. Cut in half for faster cooking.

Stove Top:

-Heat Olive Oil and garlic in pan until garlic is lightly browned.

-Add Balsamic Vinegar and Honey. Allow all ingredients to simmer gently.

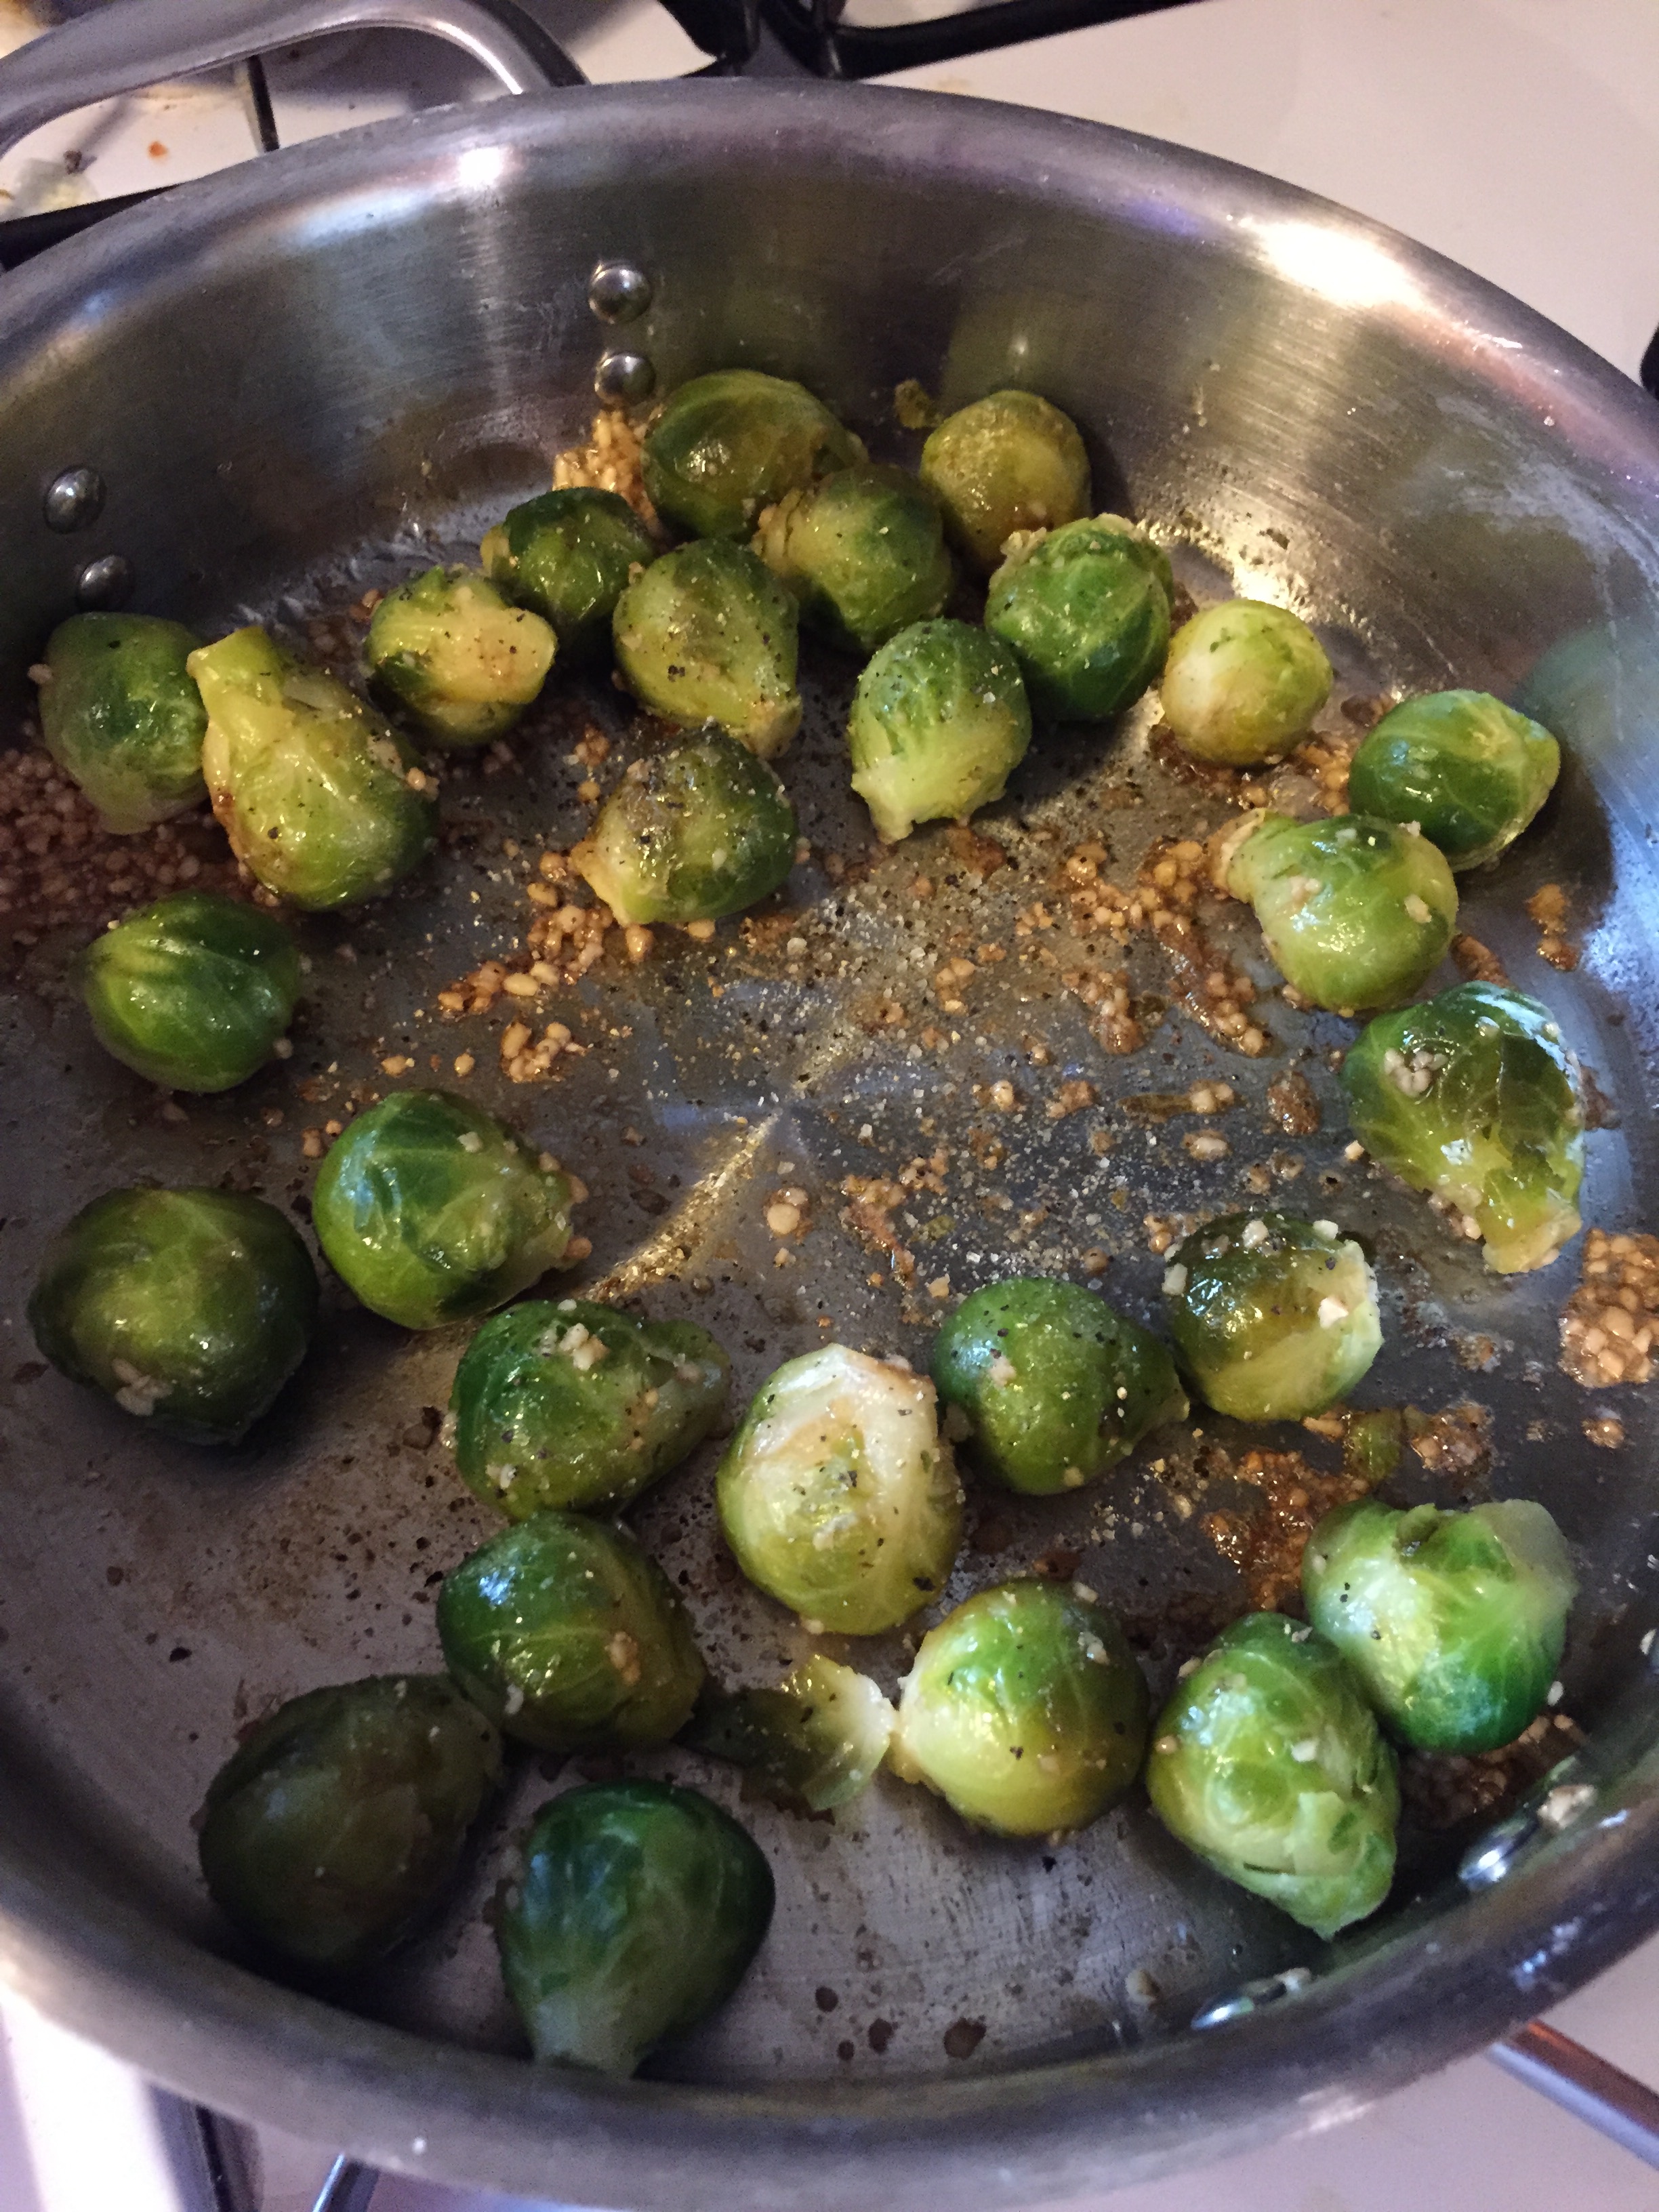
-Add brussel sprouts and lightly toss or stir until brussels are coated.

IMG_2960

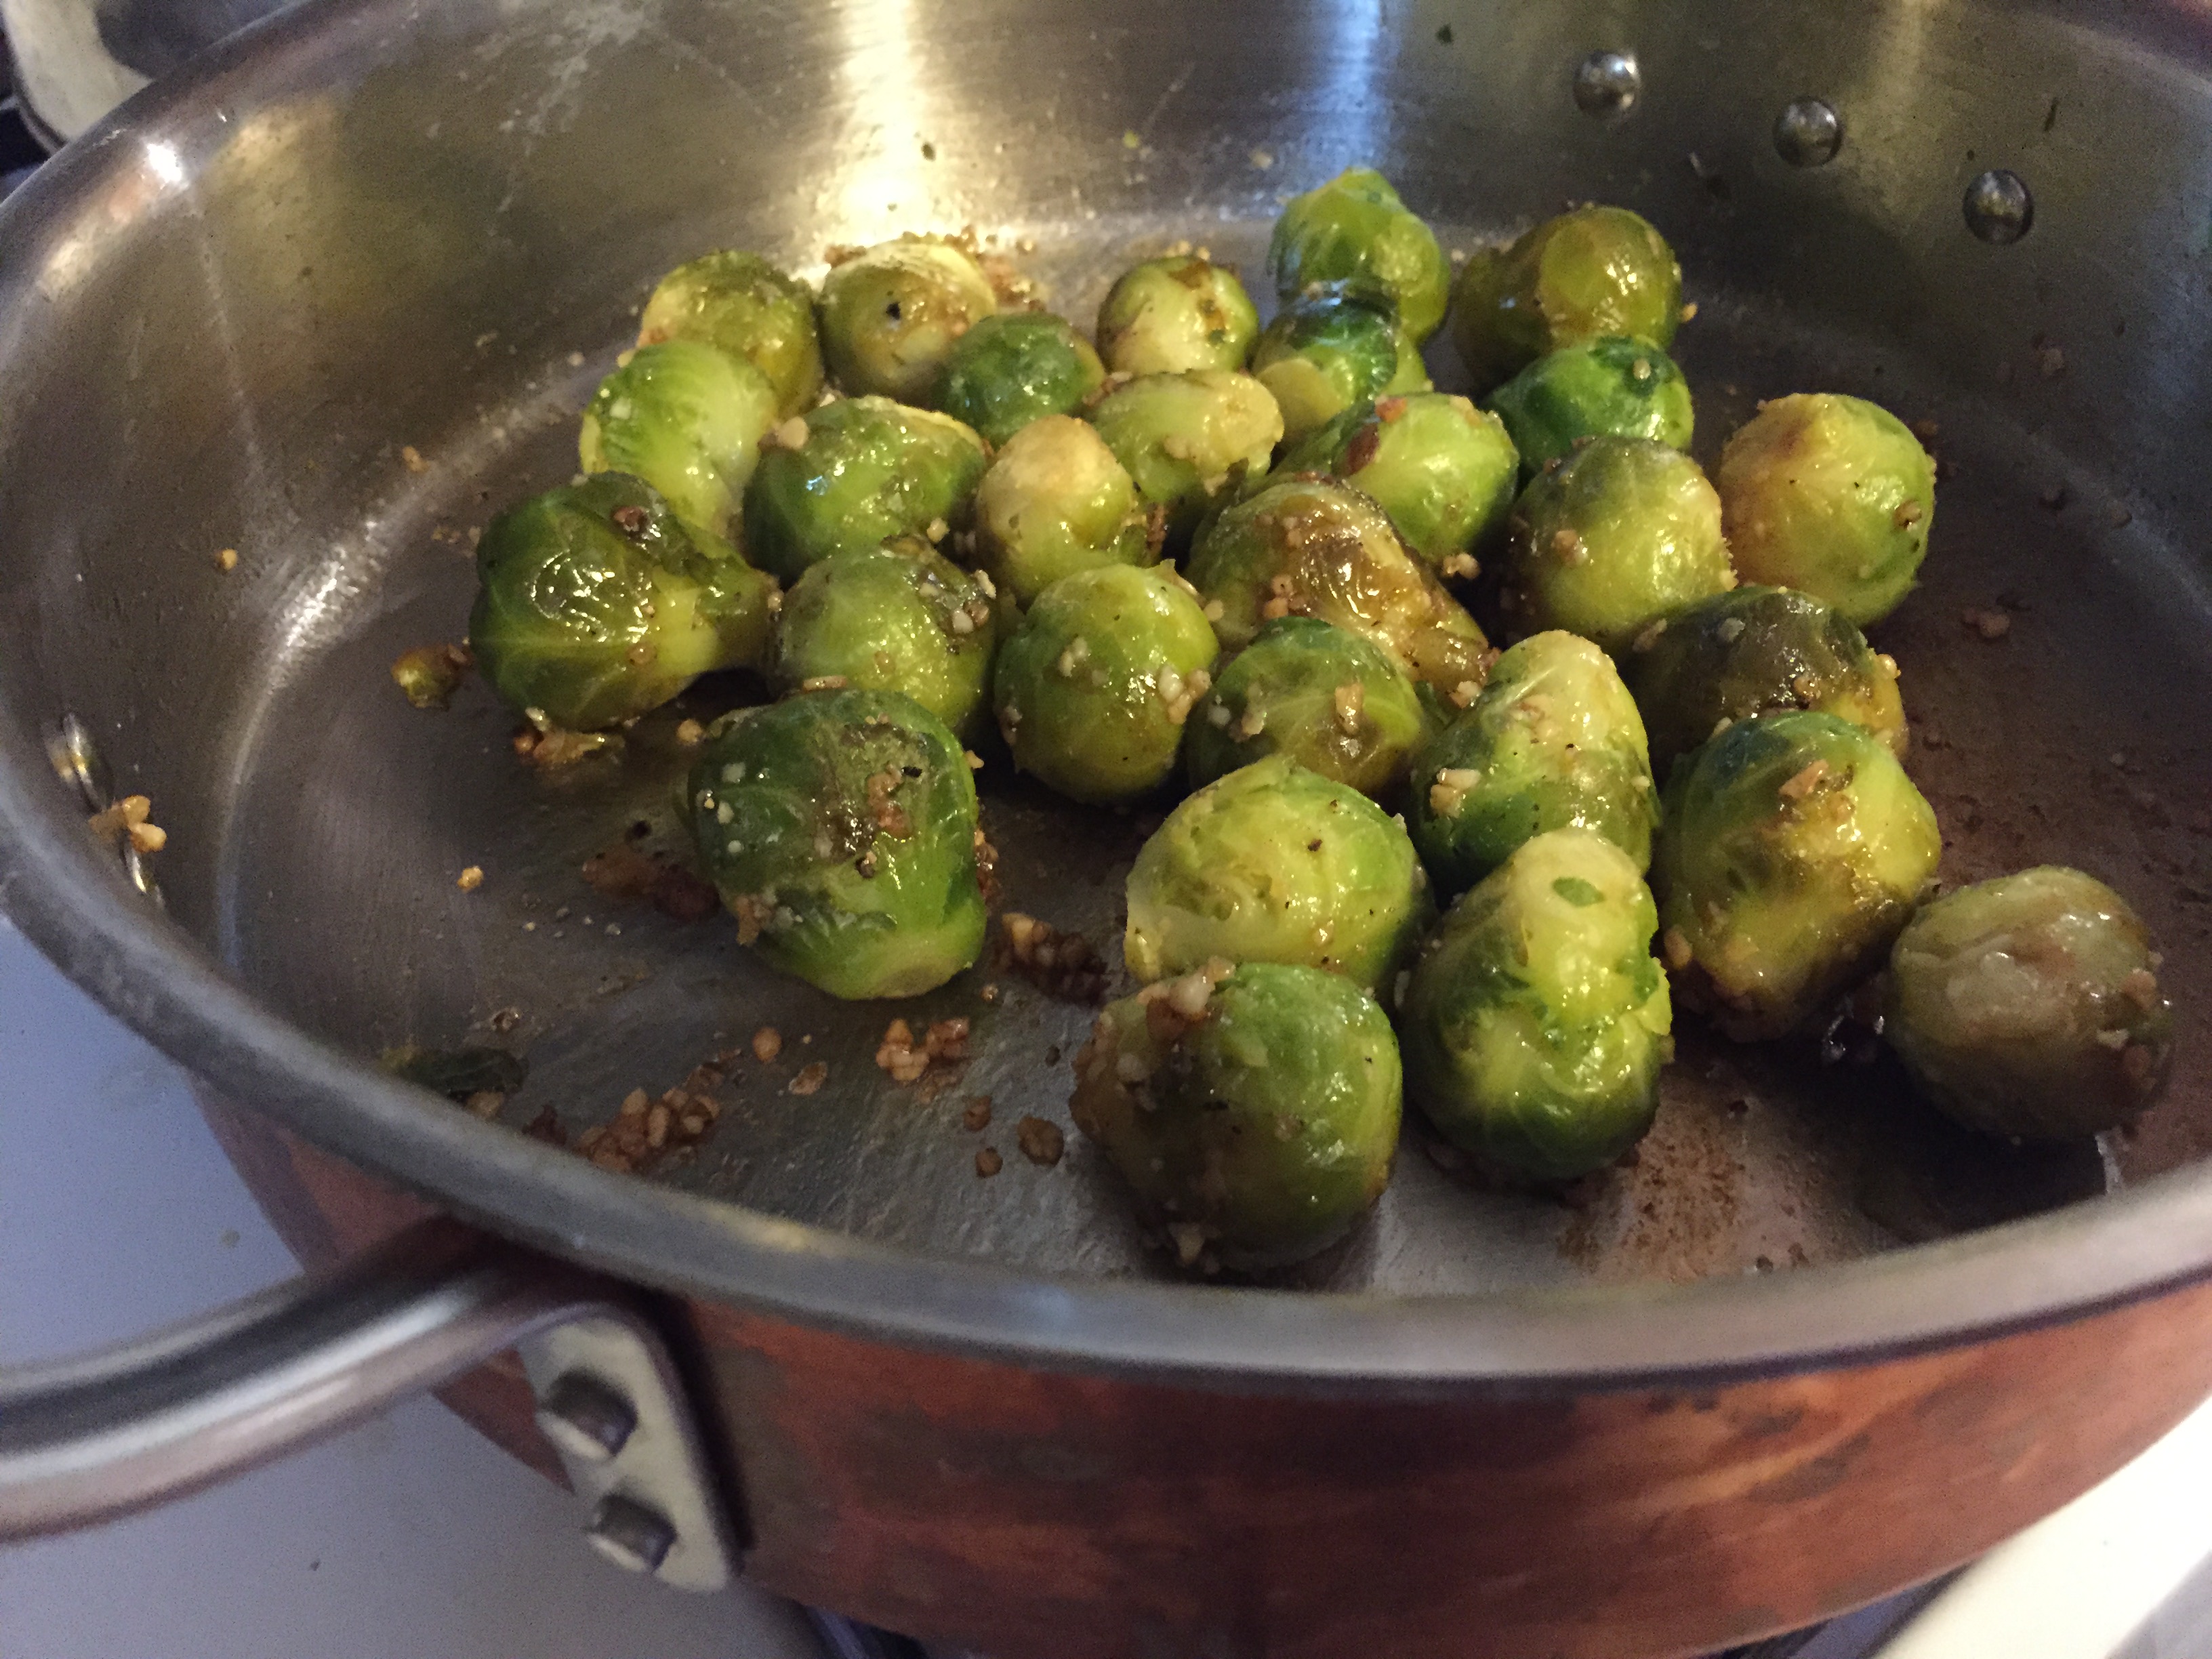
-Cook 5-7 Minutes until the bottoms of brussels are lightly browned. Turn over & repeat.

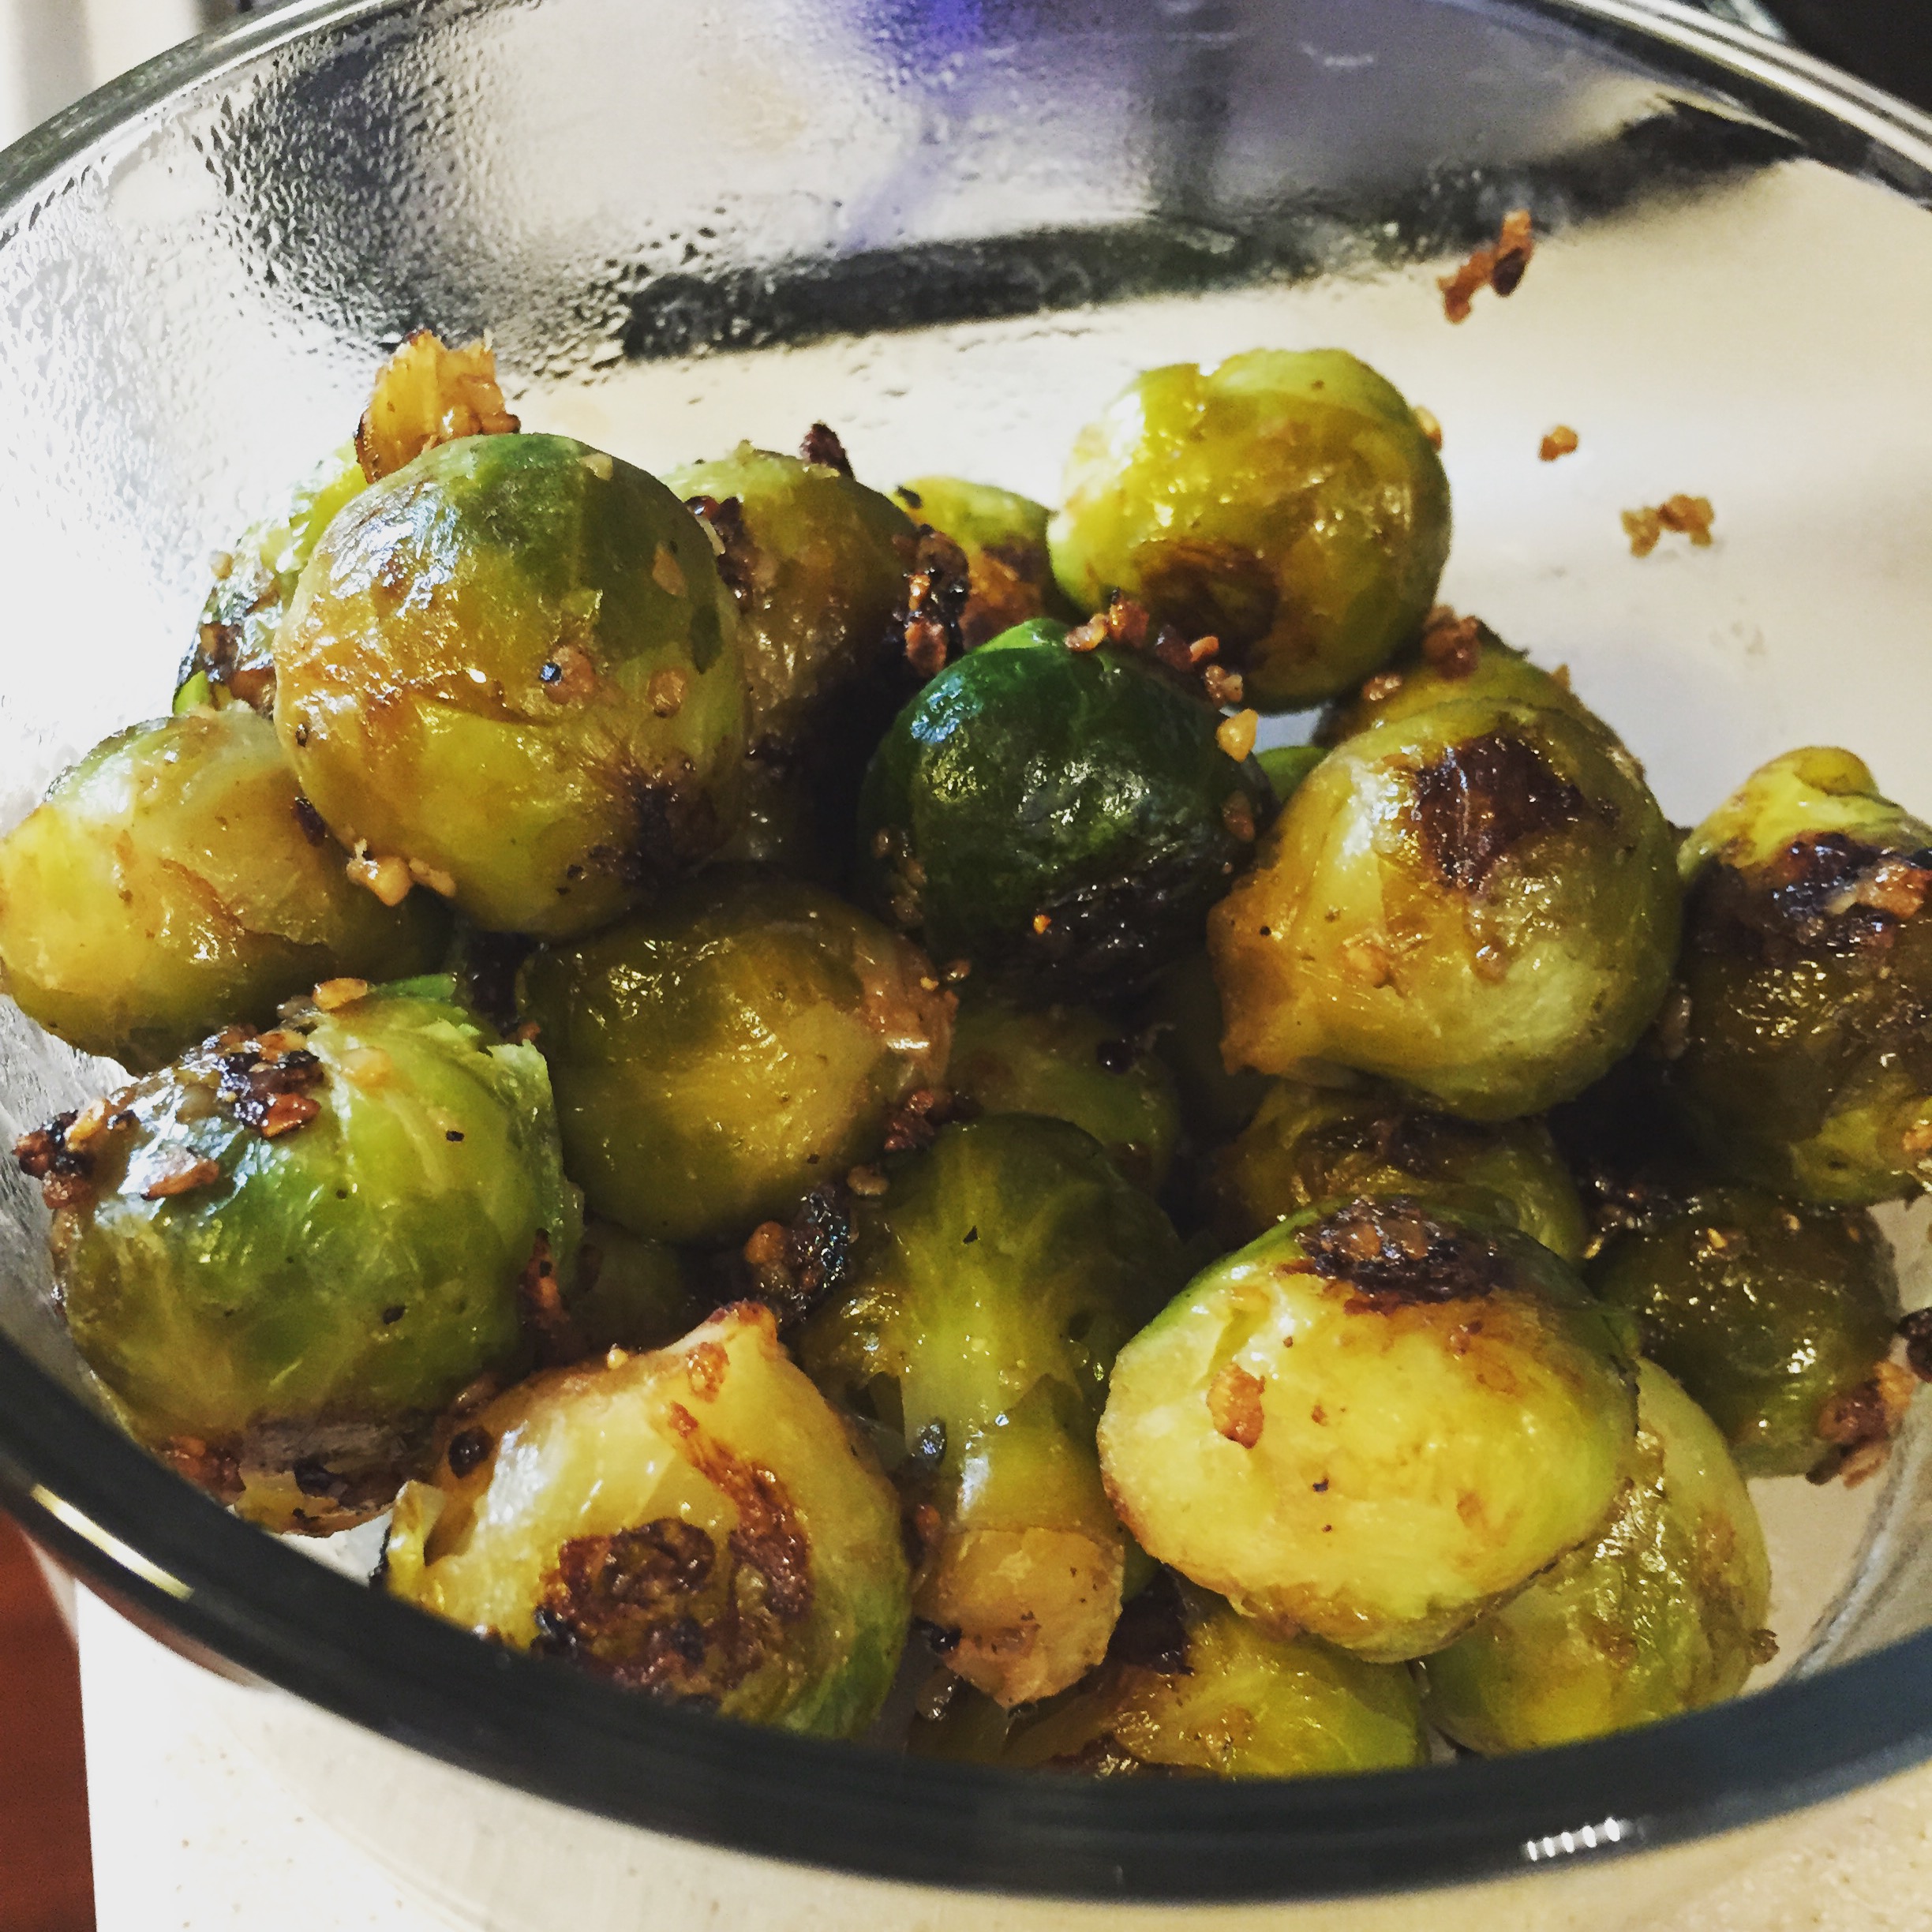
-Cook brussels to desired consistency/softness.

-Lightly season with black pepper and sea salt (optional).

Enjoy!
IMG_2961


For Baking:

-Preheat the Oven to 450 degrees F.

-Line a pan with foil and lightly grease with Olive Oil.

-Toss Brussels & all other ingredients in a bowl until evenly coated.

-After coating brussels place them in a single layer in your pan.

-Bake for 20-Minutes or until desired texture is achieved.

-Serve & Enjoy!
IMG_2964


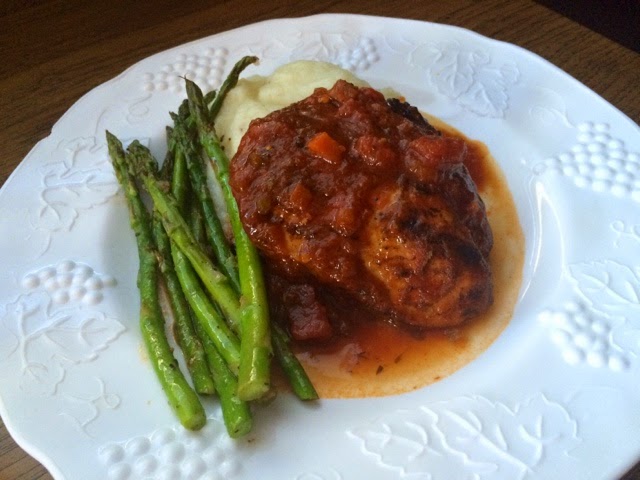
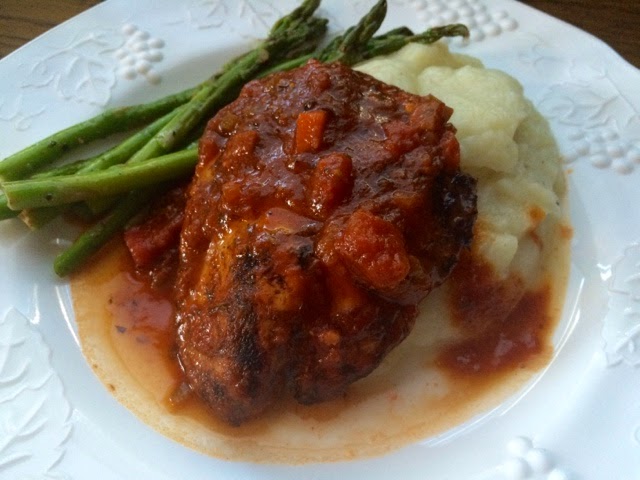
Paleo Balsamic Grilled Chicken with Cauliflower Mash

Standard

Hi Everyone!

I sent out a call for Healthy Recipes recently, and Melody from www.TheMelodyofCooking.com responded! She has so many delicious recipes it was hard to choose just one to share with you all!

This Paleo Balsamic Grilled Chicken Recipe is on my menu, but I will also be trying the Acorn Squash Turkey Burgers in the near future.  I love food, and I love delicious, healthy eating. This recipe qualifies as both Healthy & Delicious, so if you like it be sure to check out her site. She is also on Instagram as @MelodyOfCooking.

Big thanks to Melody for sharing this recipe with us!

Enjoy!
Melissa

Cauliflower Mash: 

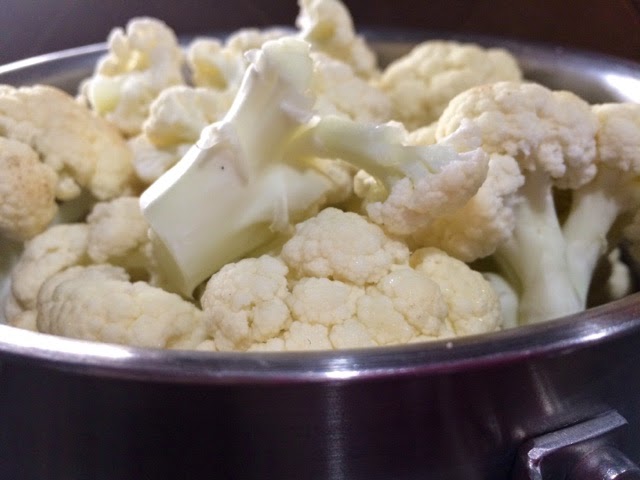
cauliflower

1 Head of Cauliflower
Salt and Pepper
Grated Nutmeg (whole nutmeg has the best flavor)
(Optional: You can add Greek Yogurt for Creaminess, however, adding dairy would disqualify this as being Paleo).
Steam or boil the cauliflower until tender. Then puree with your food processor. Or you can mash with a potato masher.
Season to taste with salt, pepper, and nutmeg.
Balsamic Grilled Chicken: 
4 Skinless Boneless Chicken Breasts
1/4 cup Balsamic Vinegar
1/2 cup Extra Virgin Olive Oil
Salt and Cracked Black Pepper
1 cup of Simply Balanced Organic Roasted Vegetable Pasta Sauce (Or sauce of choice)
Poke a few holes in the chicken breasts with a fork. Kind of like piercing potatoes before baking. This helps the marinade get all down and dirty in the chicken.
Mix the balsamic and extra virgin olive oil together. Pour over chicken breast. Let marinate for about 15 minutes.
Preheat your grill or grill pan to a moderate high heat. Not smoking hot. And not medium high. Somewhere in between those worlds.
Sprinkle chicken with salt and pepper. Grill for about 3 minutes per side. Just to get some grill marks and a sear on the meat.
Preheat a sauté pan to medium heat. Add the roasted vegetable sauce to a sauté pan along with chicken breasts. Now cover and lower heat to a simmer and continue to cook for about 10 minutes.
Side of Grilled Asparagus
1 lb fresh asparagus, washed and trimmed
1 tbsp extra virgin olive oil
Lemon juice
Salt and pepper
Just trim the ends. Toss them in a little extra virgin olive oil. Sprinkle with salt and pepper, squeeze a little lemon juice over. Grill for about 5 minutes. Turning halfway through.
**if your asparagus is thicker, just cook longer.**
Serve the chicken on top of Cauliflower Mash with a side of fresh grilled asparagus! Perfectly simple dinner party food. Or just a quick weeknight dinner.
Ta Da! Dinner is served!
melody of cooking

Quick & Easy Avocado Egg Salad Recipe

Standard
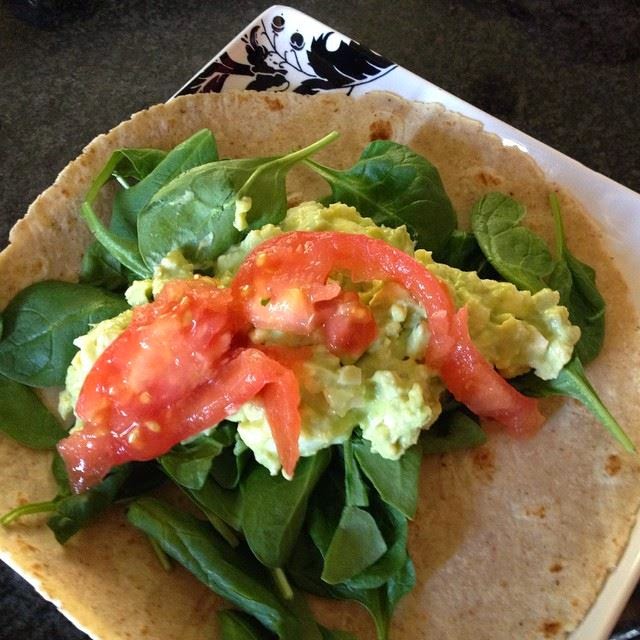
Avocado Egg Salad Wrap Over Spinach


Everyone knows that creating a healthy lifestyle means more than just working out. It also means making healthy food choices. I cooked three simple meals today. For lunch I made Avocado Egg Salad. It’s delicious, quick and easy.


This wrap also keeps me full! This meal provides a nice balance of nutrients, including protein, healthy fats, and carbohydrates.

Remember, food is fuel! Food is your energy source, and it is important to make sure you are getting enough of the proper nutrients to support your health and vitality. 

Protein and healthy fats keep you full and more satisfied throughout the day. Living healthy does not mean going hungry! 

Here is the recipe:  


Serves 3-4:


Egg Salad:
-6 Boiled Eggs
-1 Ripe Avocado
-Plain Greek Yogurt (Add until desired consistency/texture is achieved)
-Optional: Seasoning of Choice

  • Chop Eggs
  • Mix in Avocado
  • Mix in Greek Yogurt
  • Serve over fresh baby spinach leaves in a whole wheat wrap. 

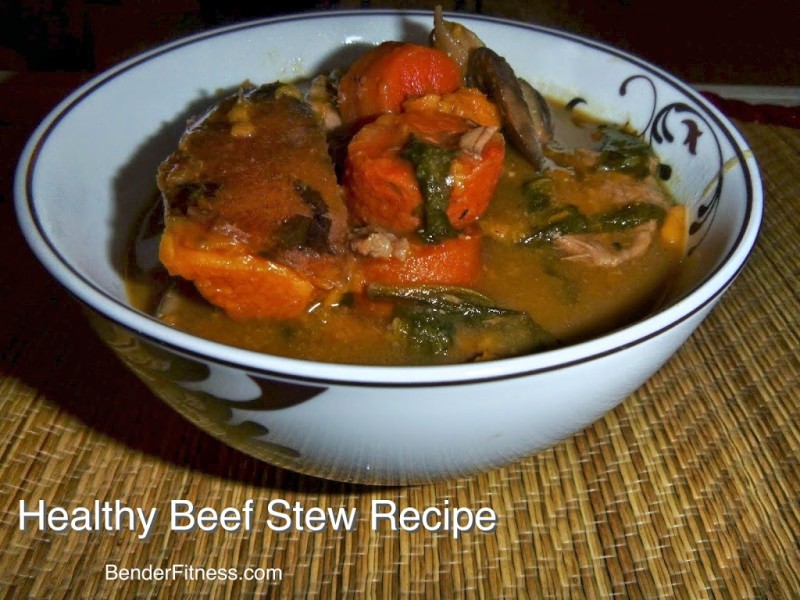
Healthy Beef Stew Recipe

Standard
When the weather gets colder I find myself craving meals that are warm and hearty. Beef Stew is a delicious meal, that meets both of those criterion. Plus, it’s easy to make!

This recipe is high in nutrients. You should be having 5-6 cups of red/orange vegetables per week! Carrots and Sweet Potatoes are high in Vitamins A, C, Fiber and Potassium. Spinach is high in vitamins and antioxidants, and is a natural anti-inflammatory. Spinach has been shown to effectively lower blood pressure. All of these vegetables help protect your vision, and skin. So what’s not to love about this combination? 

I hope you all enjoy the recipe!

Makes 4 Large Servings, or 6-8 Smaller Servings

For this recipe I used:

  • 1 Container Swanson 100% Natural Beef Broth with 50% Less Sodium (contains 4 cups)
  • 3 Medium Sweet Potatoes
  • 3 cups Raw Spinach
  • 3 Medium Carrots
  • 1/2 cup fresh mushrooms, sliced
  • 1.25 pounds Beef Stir Fry Meat
  • 1 teaspoon fresh garlic
  • Extra Virgin Olive Oil (less than a teaspoon)
  • Fresh Ground Black Pepper (to taste)
  • Fresh Ground Sea Salt (to taste)
  • Italian Seasoning (to taste)
  • Thyme (to taste)
  • 1 Tablespoon All Purpose Flour
  • 1 Tablespoon Whole Wheat Flour
  • 1/4 cup Water
Step 1:
Cut Beef into 1/2 to 1 inch cubes.
In a large pot use a touch of Extra Virgin Olive Oil and a teaspoon of fresh garlic. Turn stove on to medium heat. Add beef and cook until browned. Add desired seasoning at this point.
I used a bit of fresh ground pepper, fresh ground sea salt, Thyme, and Italian Seasoning. 

Step 2:
Add the entire container of Beef Broth. Cover, and bring to boil. Reduce heat to low, and cook for 90 minutes. 

Step 3: 
Cut vegetables to desired size. Add all vegetables to the broth and re-cover. Cook for an additional 30-60 minutes on low until vegetables are tender. 

Step 4:
Increase heat to medium. Mix flour and water in a bowl, and add slowly to broth. Stir to thicken. 

Step 5: 
Stew is ready to serve! Enjoy!
Overnight No-Cook Oats: Simple, Healthy Breakfast (6 Recipes)

Standard

If you’re looking for a quick, and delicious breakfast option you have come to the right place! 

This week I have been starting my day with different variations on No-Cook Overnight Refrigerator Oats. 

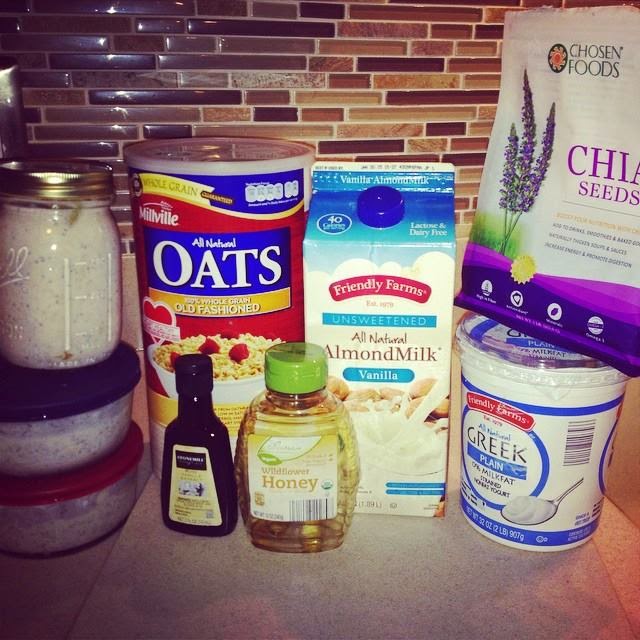
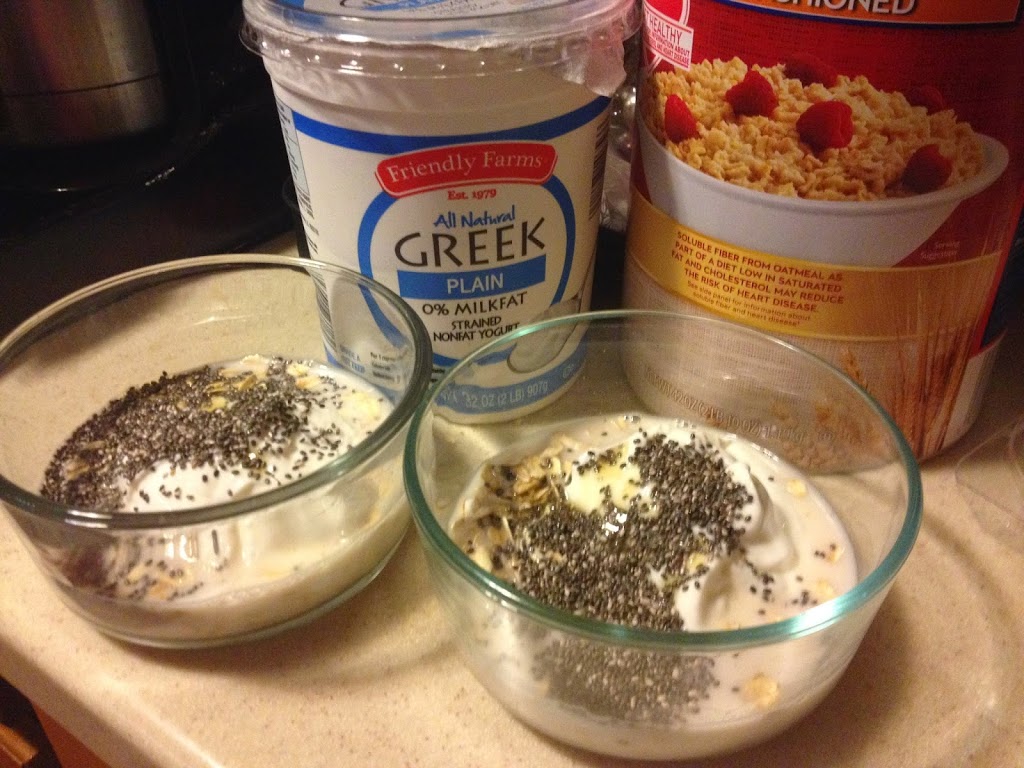
To make this recipe you will need some lidded jars or containers. I used a mason jar, and two glass containers with lids as pictured below. 
This breakfast starts your day off with protein, calcium and fiber, and will help you stay full throughout the morning. At my job there is no time to take breaks, so a filling morning meal is a must.

The basic ingredients are:

  1. 1/4 Cup 100% Whole Grain Old Fashioned Oats
  2. 1/3 Cup Milk of Choice (I used Unsweetened Vanilla Almond Milk, often I use Unsweetened Coconut Milk)
  3. 1/4 Cup Plain Greek Yogurt
  4. 1 1/2 teaspoons dried Chia (I have skipped this ingredient when I ran out of Chia seeds, and the recipe still works)
  5. Sweetener of Choice (depending on the recipe I use 1 teaspoon of honey or maple syrup) and/or extract of choice. 

Keep reading for some variations in recipe ideas. 

Place all of the above ingredients in your container, put on the lid, and shake the container to thoroughly mix all of the ingredients. 

Open the container, stir in 1/4 cup fruit of choice. Re-cover, and refrigerate overnight. Oats will be ready in the AM, and should be eaten cold. Depending on the recipe they can be kept for up to four days. Recipes with Banana should be eaten the next day. 

*I have included nutrition information below as calculated using MyFitnessPal’s recipe importer. Totals may vary slightly by brand, however, this is a good guideline. 


Place Basic Ingredients Together: Place the Lid Firmly on the Container.
Shake Until Thoroughly Mixed. 

BlueBerry Overnight Oats:

  1. 1/4 Cup 100% Whole Grain Old Fashioned Oats
  2. 1/3 Cup Milk of Choice (I used Unsweetened Vanilla Almond Milk, often I use Unsweetened Coconut Milk)
  3. 1/4 Cup Plain Greek Yogurt
  4. 1 1/2 teaspoons dried Chia 
  5. 1/8 teaspoon vanilla extract
  6. 1-2 teaspoons Maple Syrup (optional)
  7. 1/4 Cup Blueberries
Calories: 265  – Fat: 8g – Fiber: 10g (41%) – Protein 12g – Carbohydrate: 36g

Pineapple Vanilla Overnight Oats:

  1. 1/4 Cup 100% Whole Grain Old Fashioned Oats
  2. 1/3 Cup Milk of Choice (I used Unsweetened Vanilla Almond Milk, often I use Unsweetened Coconut Milk)
  3. 1/4 Cup Plain Greek Yogurt
  4. 1 1/2 teaspoons dried Chia 
  5. 1 teaspoon Honey or Sweetener of Choice 
  6. 1/8 teaspoon Pure Vanilla Extract
  7. 1/4 cup diced Pineapple
Calories: 203 – Fat: 5g – Fiber: 5g- Protein: 10g – Carbohydrates: 33g

Mango Overnight Oats:

  1. 1/4 Cup 100% Whole Grain Old Fashioned Oats
  2. 1/3 Cup Milk of Choice (I used Unsweetened Vanilla Almond Milk, often I use Unsweetened Coconut Milk)
  3. 1/4 Cup Plain Greek Yogurt
  4. 1 1/2 teaspoons dried Chia 
  5. 1 teaspoon Honey or Sweetener of Choice 
  6. 1/8 teaspoon Almond Extract
  7. 1/4 cup diced Mango
Calories: 276 – Fat: 8g – Fiber: 10g – Protein: 12g – Carbohydrate: 42g

Honey Walnut Pear:

  1. 1/4 Cup 100% Whole Grain Old Fashioned Oats
  2. 1/3 Cup Milk of Choice (I used Unsweetened Vanilla Almond Milk, often I use Unsweetened Coconut Milk)
  3. 1/4 Cup Plain Greek Yogurt
  4. 1 1/2 teaspoons dried Chia 
  5. 1-2 teaspoons of Honey or Sweetener of Choice
  6. 1/8 teaspoon pure vanilla extract
  7. 1-2 Tablespoons of Walnuts
  8. 1/4 cup Diced Pear
Calories: 256 – Fat: 9g – Fiber 7g – Protein: 11g – Carbohydrate: 36g

Honey Pear Cinnamon:

  1. 1/4 Cup 100% Whole Grain Old Fashioned Oats
  2. 1/3 Cup Milk of Choice (I used Unsweetened Vanilla Almond Milk, often I use Unsweetened Coconut Milk)
  3. 1/4 Cup Plain Greek Yogurt
  4. 1 1/2 teaspoons dried Chia 
  5. 1-2 teaspoons of Honey or Sweetener of Choice
  6. 1/8 teaspoon pure vanilla extract
  7. 1 teaspoon cinnamon
  8. 1/4 cup Diced Pear
214 Calories – Fat: 5g – Fiber: 7g – Protein: 10g – Carbohydrate: 36g

Chocolate Peanut Butter Banana:

  1. 1/4 Cup 100% Whole Grain Old Fashioned Oats
  2. 1/3 Cup Milk of Choice (I used Unsweetened Vanilla Almond Milk, often I use Unsweetened Coconut Milk)
  3. 1/4 Cup Plain Greek Yogurt
  4. 1 1/2 teaspoons dried Chia 
  5. 1-2 teaspoons of Honey or Sweetener of Choice 
  6. 1 Tablespoon of Peanut Butter or PB2 (add before shaking ingredients)
  7. 1 Tablespoon of Cocoa Powder
  8. 1/4 cup Diced Banana
With PB2: Calories: 247 – Fat: 6g – Fiber: 8g – Protein: 13g – Carbohydrates: 41g
With Natural Peanut Butter: Calories: 329 – Fat: 13g – Fibwe: 9g – Protein: 15g – Carbohydrates: 46g

FacebookInstagram, or Twitter

Anti-Inflamatory Green Smoothie for Improved Endurance

Standard
I love smoothies, and hands down green smoothies are my favorites. 

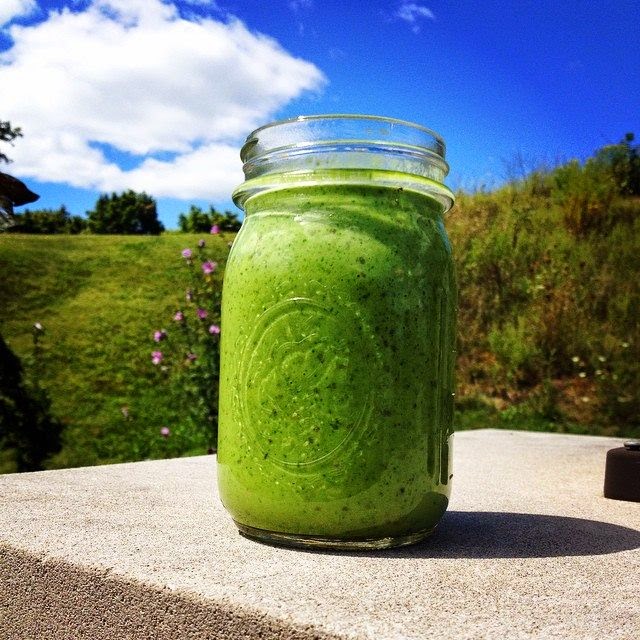
They are healthy, delicious, full of vitamins, and you can make them with all kinds of different ingredients. This was my first time using Chia in a smoothie. You can read more about the health benefits of the ingredients used in this smoothie below. 

Today’s smoothie is simple and filling. 

Ingredients:

-1.5 cups Coconut Almond Milk (unsweetened) or milk of choice
-1 tablespoon Chia Seeds
-1/4 raw ripe avocado
-1-2 cups of fresh baby spinach
*Sweetener of choice may be added for extra sweetness. 

Place all ingredients in the blender and blend until smooth. It’s ready to serve! 

If you prefer a smoother texture, allow the chia seeds to soak in the milk for 10-20 minutes prior to blending. 

Nutrition:

Calories: 233
Carbohydrates: 14 grams
Fat: 17 grams
Protein: 7 grams
Fiber: 11 grams

Health Benefits:
This smoothie is great for reducing inflammation throughout the body, improving endurance and providing sustained energy throughout the day. It utilizes healthy fats that keep you full and are great for your hair and skin. 

Coconut Almond Milk
This is a low calorie milk alternative with only 45 calories per cup. It is lactose free, and high in vitamins, providing 50% of your Vitamin E, 45% of your daily Calcium, and 25% of your daily Vitamin D intake, among others. 

It is also dairy, soy, lactose, cholesterol and gluten free. Some research has shown that coconut milk is beneficial in weight loss, and almond milk helps protect your skin against sun damage and the effects of aging. Additionally, for those sensitive to dairy products, consumption of lactose causes inflammation. 

*Look for the unsweetened variety. The one I use has zero grams of sugar. Some of the values above will vary by brand. 

Chia Seeds:
Chia seeds improve energy, aid digestion, improve endurance, lower blood sugar, and can assist with weight loss. It is also has powerful anti-inflammatory benefits. 

One tablespoon of Chia seeds has 5 grams (20%) of your daily Fiber, 8% of your daily Calcium, 6% of your daily Iron, and 5 grams (2%) of your daily carbohydrates. Additionally, chia seeds have Omega-3 fatty acids. 

Historians have stated that Chia seeds were used by ancient Mayan, Incan and Aztec cultures as an energy food, and the production was on par with the production of Maize. 

Avocado:
Avocados contain more than 25 essential nutrients. Avocado has been shown to improve heart health, reduce inflammation, lower cholesterol, regulate blood sugar, reduce the risk of stroke and cancer, and increase nutrient absorption (just to name a few!)

The healthy fats in avocado improve endurance during workouts and support cardiovascular health. 

Spinach:
Spinach is another anti-inflammatory food. It is low in calories, but high in vitamins and minerals. Most of the calories in spinach come from protein. Spinach is a great source of iron, which directly impacts how efficiently your body uses energy. It is also high in magnesium, which is necessary for energy metabolism. 

Spinach is useful for managing diabetes, and lowering glucose levels in the body. Spinach also lowers the chances of developing asthma and can improve your bodies ability to transport oxygen during exercise. It improves bone health and promotes healthy skin and hair. As if that wasn’t enough, the Vitamin K in spinach also helps maintain bone health. 

Enjoy!
Melissa

You can also find me on FacebookInstagram, or Twitter

Savory Roasted Butternut Squash (Two Healthy Recipes!)

Standard
Ingredients: 
  • 1 large butternut squash
  • 1 teaspoon smoked sweet paprika (I just used regular paprika)
  • 1 teaspoon garlic powder (I didn’t have it so I didn’t use any, and it still turned out great!)
  • 1 teaspoon onion salt (I used half a teaspoon of sea salt)
  • 1 teaspoon fresh ground black pepper
  • 2 teaspoons balsamic vinegar
  • 3 teaspoons extra virgin olive oil
  • *Optional: Sliced cherry tomatos
Directions:
Prep Time: 15 mins
Total Time: 1 hr
  1.  Preheat oven to 375.
  2.  Cut ends off butternut squash, peel, and slice lengthwise.
  3.  Remove seeds and chop into 1 inch cubes.
  4.  In a medium bowl, combine spices, oil and vinegar into a paste.
  5.  Add squash and toss until coated. (I put it in a bowl with a lid and shook it to make it easier!)
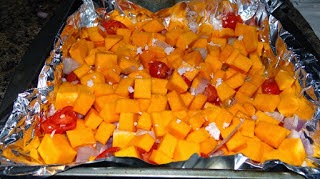
  6.  Arrange the squash cubes in one layer in a roasting pan.
  7.  Roast for 20 minutes, toss once, and cook for an additional 25 minutes or until the squash is browned and is tender throughout.
 Eat and enjoy!
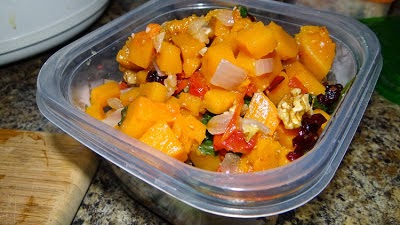
You can serve this as a side or you can eat it with rice or quinoa as a dinner. (I am having squash with whole grain and veggie rice for lunch right now!)
I am going to be making a green curry medley meal sometime in the next few days. If it turns out well I will share. 🙂
Alternate Preparation Option:
  • 1 large butternut squash
  • 1 diced onion
  • 1 diced tomato
  • 1 teaspoon olive oil, brushed over the bottom of your pan
  • 1 teaspoon coconut oil (or you can use olive oil again)
  • 2-4 cups of fresh baby spinach
  • 1 Handful of dried cranberries
  • 1 Handful of raw walnuts
  • Optional: Handful of feta. 
Total Time: 1 hr
  1.  Preheat oven to 375.
  2.  Cut ends off butternut squash, peel, and slice lengthwise.
  3.  Remove seeds and chop into 1 inch cubes.
  4. Dice tomatoes and onions, and mix with cubed squash. 
  5.  Brush the bottom of your pan with olive oil (or line with tinfoil and brush the foil with olive oil)
  6.  Arrange the squash cubes, onion and tomatoes in one layer in a roasting pan.
  7. Lightly sprinkle the coconut or olive oil over the top of your vegetables. 
  8. Cover with tinfoil before baking. 
  9.  Roast for 20 minutes, toss once, and cook for an additional 25 minutes or until the squash is browned and is tender throughout.
  10. During the last 10 minutes add the fresh baby spinach and stir into the vegetables. 
  11. Remove from the oven: carefully toss with cranberries and walnuts (and feta if desired). 
  12. Your dish is ready to be served! Be careful, it’s hot!
*This meal is great on it’s own or served with rice, quinoa or your meat of choice.

PS You can find me on FacebookInstagramTwitter and Pinterest. Jesse has also been posting sneak peek workouts moves/tutorials on his Instagram page. 

Homemade Chicken Vegetable Soup Recipe

Standard
Hi Everyone,

I love soup at any time of the year. It’s delicious, relatively easy to make, and you usually have left overs. This winter has been exceptionally cold (wind chills between -15 to -20 degrees Fahrenheit). 
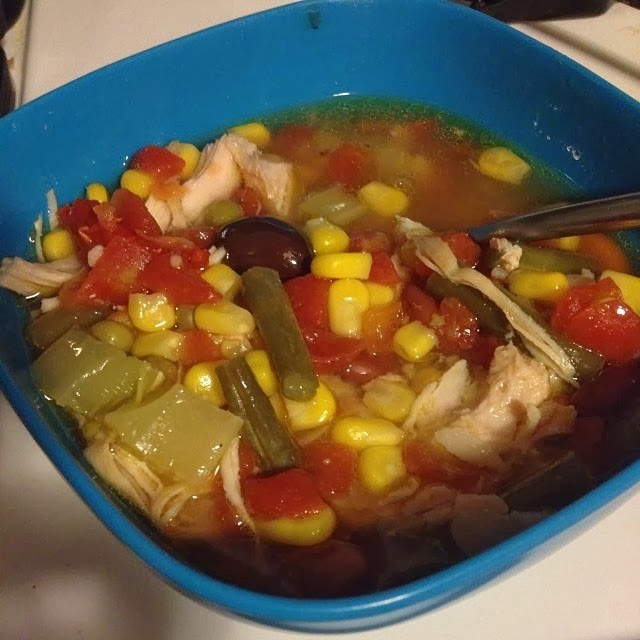
I used my crockpot for this recipe, but it can also be cooked on the stove. When I was cooking I didn’t measure the ingredients, but I will give rough estimates below. If you like a broth-ier soup decrease the additions and/or increase the broth and water. As you can see from the picture above I like my soup full of ingredients. 

I used the vegetables that I had on hand, but you can always switch it up and vary the vegetables. Feel free to experiment!

Enjoy!
Melissa

Ingredients:
-Chicken Breast (about 1.5-2 lbs). 
-4 to 5 cups Organic Low Sodium Chicken Broth
-1 cup water
-2 to 3 teaspoons minced garlic
-1 Tablespoon Olive Oil
-1 Tablespoon Balsamic Vinegar
-diced tomatos (if using canned try to find organic no salt added diced tomatoes).  
-2 Cups frozen Corn
-1 Cup Green Beans (fresh or frozen) 
-2 Stalks Celery chopped
-2 to 3 carrot sticks chopped
– 1/2 Cup Kidney Beans (I used canned, thoroughly rinsed)
-1 Cup Peas
*Optional: 1-2 teaspoons diced jalapeño or jalapeño seeds for a spicier soup and/or sun dried tomatoes. (I didn’t have onion on hand, but I would have added diced onion as well). 
*As noted above, feel free to vary portions to achieve desired soup density. 

Directions: 
1. Pour broth and garlic into crock pot. 
2. Add Chicken (You can pre-cook the chicken or add it raw. Raw chicken will require longer cooking time). There should be enough liquid in the pot to cover the chicken. 
3. Add Water, Olive Oil and Balsamic. 
4. Add Vegetables. 
Cover and cook. Chicken should easily fall apart or be pulled apart when the soup is fully cooked. 
Additional spices you may enjoy: 1-2 Bay leaves, thyme, oregano. 
*For Raw Chicken Cook on High 4-5 Hours in crock pot or on Low 8-10 Hours. 

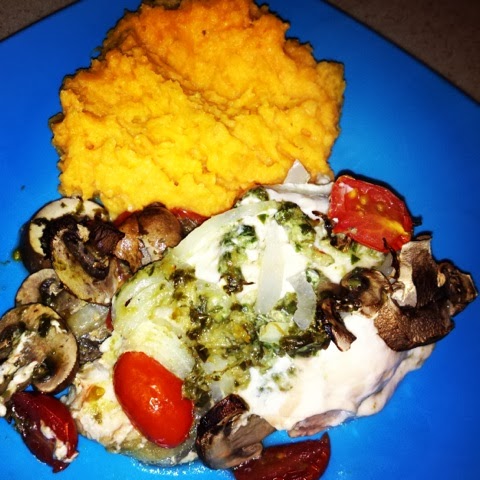
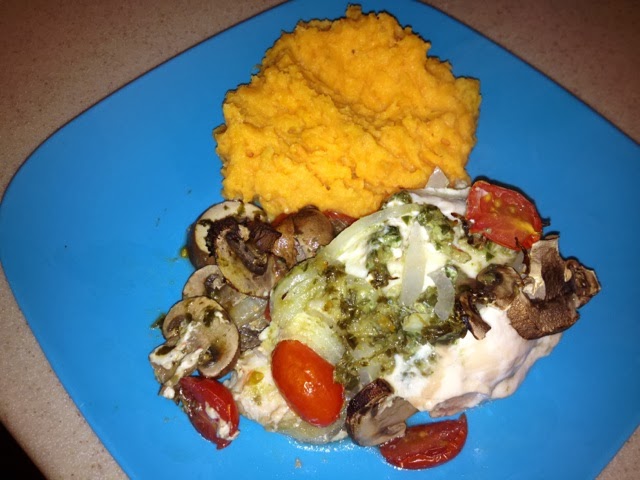
Balsamic Chicken with Mashed Sweet Potatoes Recipe

Standard
Hi Everyone!

I enjoyed this recipe so much that I had to share it. 🙂

I made this for dinner, and enjoyed the leftovers for lunch for two days afterward. Normally Jesse isn’t a fan of sweet potatoes, but he loved them mashed. The sweet potatoes would make a great healthy addition to your Thanksgiving table in a few weeks. On days focused on indulgence it is great to have some healthy alternatives available. 

The recipes are below!
Melissa

Balsamic Chicken

Ingredients:
4 Chicken Breast
4-5 Cloves of Garlic
1 cup fresh Basil
1 tablespoon Olive Oil
2 Tablespoons Balsamic Vinegar (use less for lighter flavor, more to increase the taste)
1/4 cup water
1 cup sliced Mushrooms (I used one whole package of baby bella mushrooms)
1 pack Cherry Tomatoes (sliced)
1 medium Onion sliced

-Pre-heat over to 375 degrees.
-In a blender combine: garlic, basil, olive oil, vinegar, and water. Blend until pureed. 

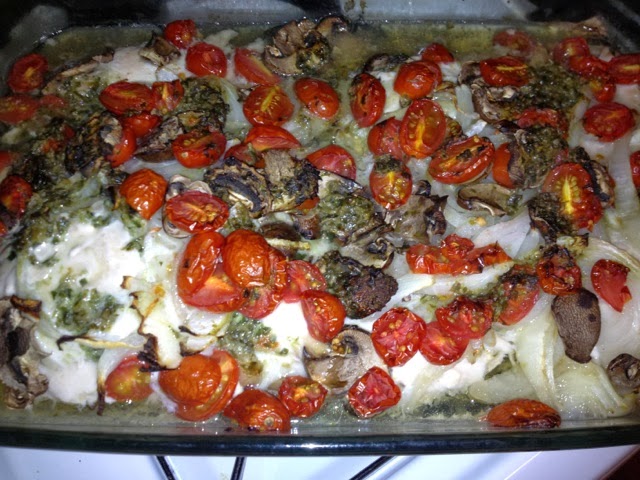
-Place chicken breasts in baking dish with mushrooms, cherry tomatoes, and onions. Pureed mixture can be poured over the entire dish or directly over the chicken. 

-Bake until chicken is baked completely through (approximately 30-40 minutes). 
Mashed Sweet Potatoes
*I made enough sweet potatoes for 7-8 meals. 

Ingredients:
-3 Large Sweet Potatoes (3 lbs)
-1.5 tablespoons butter (optional)
-3/4 cup skim milk
-4-5 tablespoons Plain Greek Yogurt (0% fat)
-Salt and Pepper to taste
(milk and greek yogurt proportions can be varied to achieve your desired mashed potato texture. Add ingredients slowly as you mix potatoes.)
(*for a more savory version of these potatoes add 3 cloves of garlic, lightly sauteed in the butter before adding to potatoes). 

-Peel and cube sweet potatoes. Place them in a large pot, cover with water and boil until tender. Potato pieces should fall off of a fork when speared. Do not over-boil or potatoes will become mushy. 

-If using garlic saute in butter.

-Return potatoes to pan.

-Add milk, and Greek yogurt. Mash potatoes until desired consistency is achieved. (I used an electric hand mixer, and added milk  and Greek yogurt slowly. I increased the creaminess by adjusting the amount of Greek Yogurt to the proportions listed in the recipe). 

-Salt and Pepper to taste. 

Serve and enjoy!


Mango Spinach Smoothie

Standard
Hi Everyone!

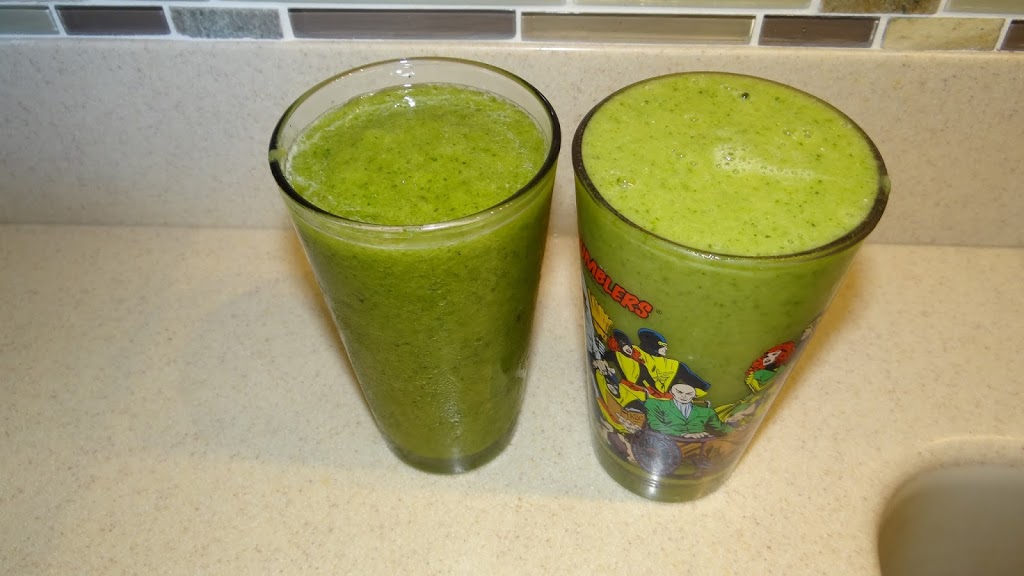
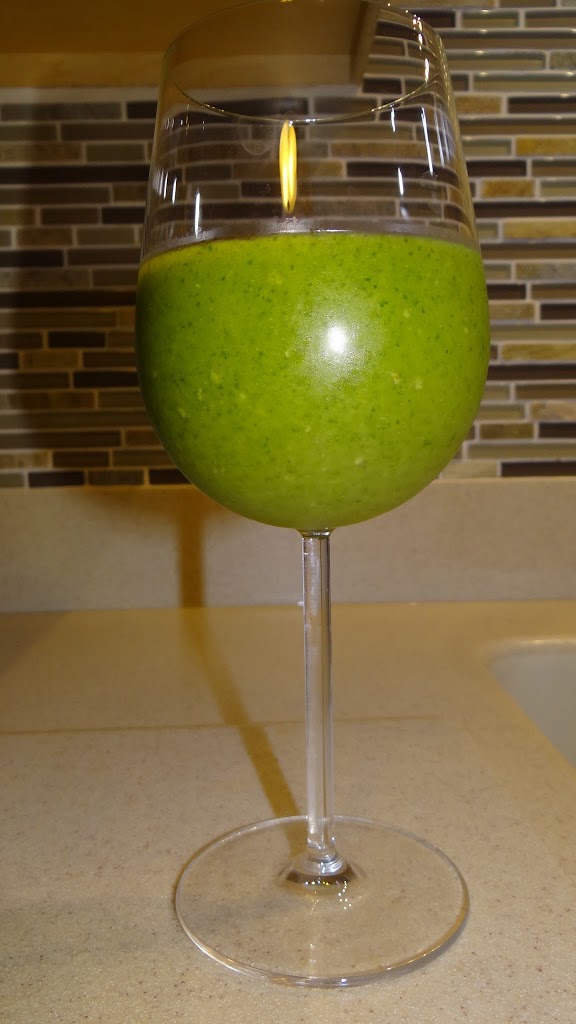
My love for Green Smoothies is no secret. I have already shared recipes for: Cool Melon SmoothieGreen Smoothie: She-Hulk Style and Filling Green Endurance Smoothie

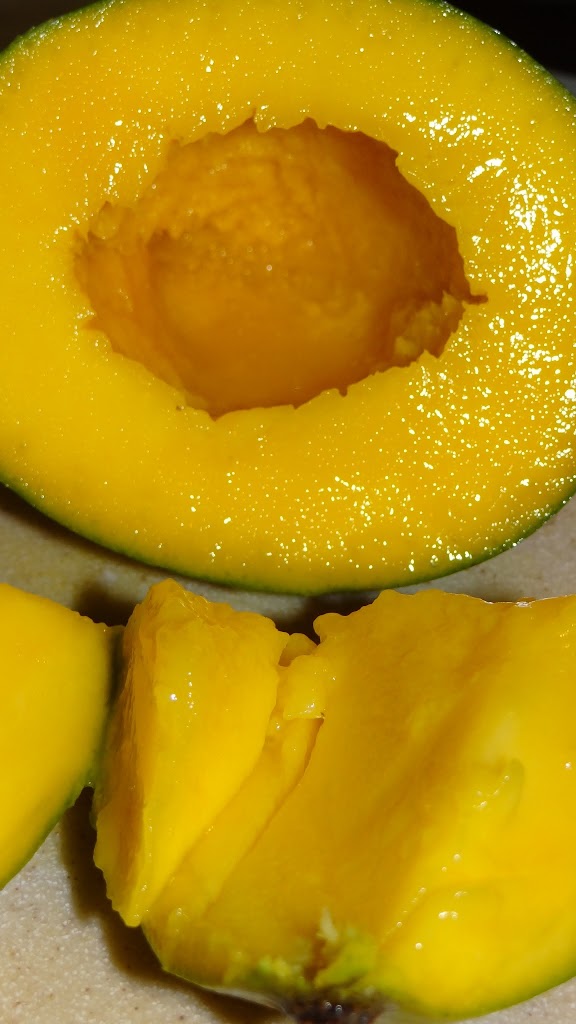
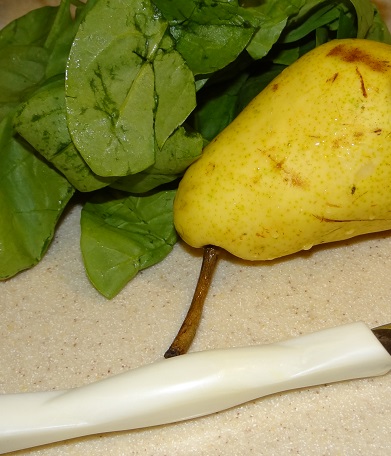
Today’s smoothie features Mango, Pear and Spinach. 


Ingredients: (Serves 2)
1 Mango
1 Pear
2-3 Cups Fresh Spinach
2 Cups Ice
1/2 cup Coconut Water (optional)

For a Creamier High Protein version of this Smoothie add the following:
1/2 cup Coconut Milk (or milk of choice)
1 Scoop Vanilla Protein Powder

Combine all ingredients in blender until desired consistency is achieved. Drink and enjoy!

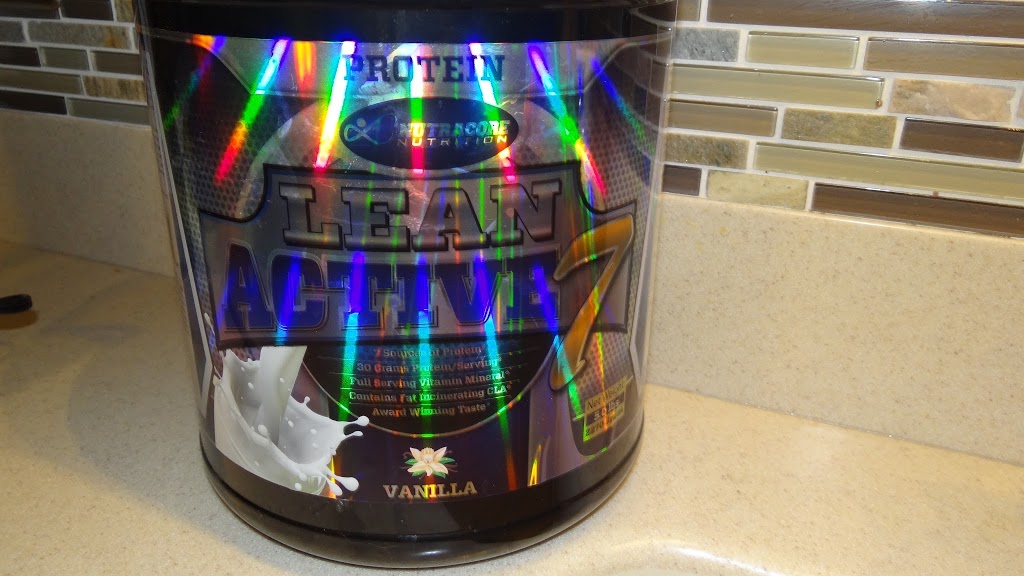
Lean Active 7 Vanilla Protein: www.facebook.com/TNMansfield

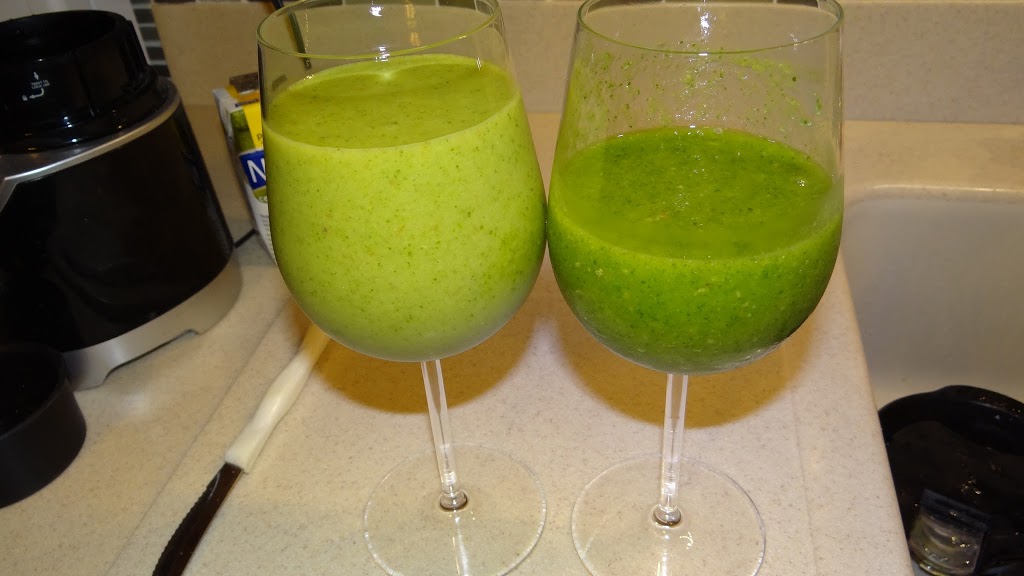
Protein Mango Spinach Smoothie (left) and Mango Spinach Smoothie

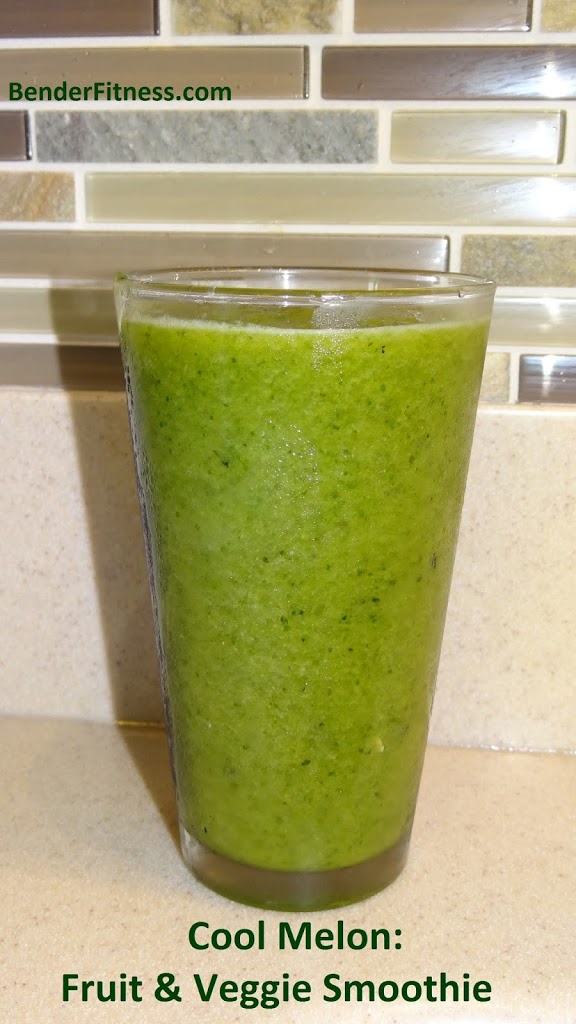
Cool Melon Smoothie: Healthy Delicious Fruits and Veggies

Standard
This smoothie is as delicious as it looks! It’s refreshing, tasty and sweet. It’s also something you can feel good about drinking. I have been having fun experimenting with some different variations of this smoothie. I can’t decide which one is my favorite!

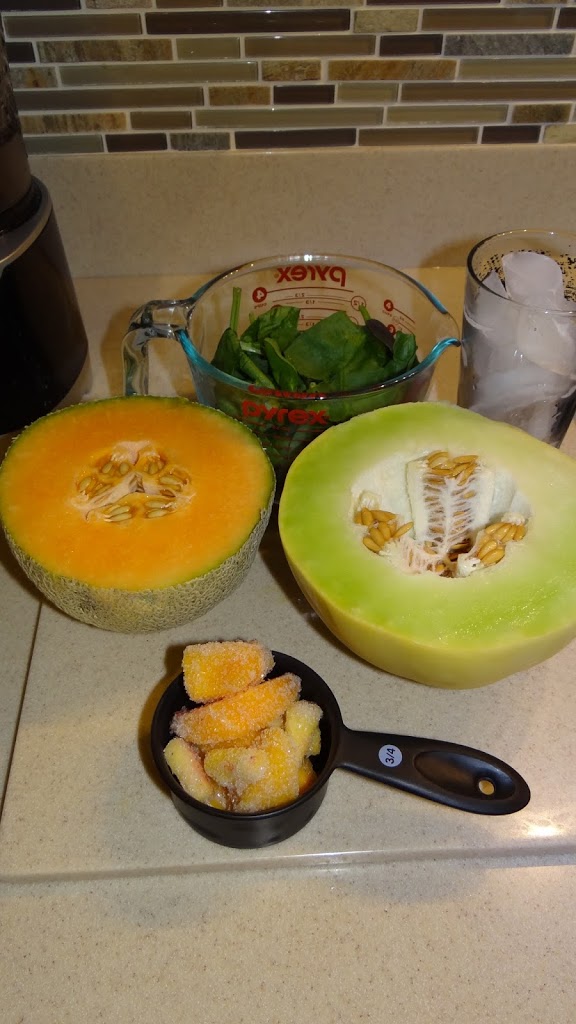
Ingredients:
1/2 Fresh Cantaloupe, (medium, cubed)
1/2 Fresh Honeydew Melon (medium, cubed)
3 Cups Fresh Spinach (I used a spinach, bok choy, and swiss chard mix)
1 Cup Fresh (or frozen) Peaches (also delicious with mango or pineapple)
1 glass of ice cubes 

*Optional: For a creamier smoothie add 1 Scoop Vanilla Protein Powder. Jesse loved the taste, but prefers a creamier texture, and the protein made it just right for him. 

-Combine all ingredients in the blender until smooth, or until desired consistency is reached.

I have watermelon sliced and ready to try out tomorrow. This smoothie uses fruits with a high water volume, which assists with hydration and weight loss. This smoothie can also help reduce bloating. 🙂 

Enjoy!
Melissa

Left: Fruit & Veggie Smoothie, Right: Fruit, Veggie, Protein Smoothie

Healthy Protein Blended Chocolate Coffee Frappucino (Also delicious without the Coffee!)

Standard
Hi Everyone!

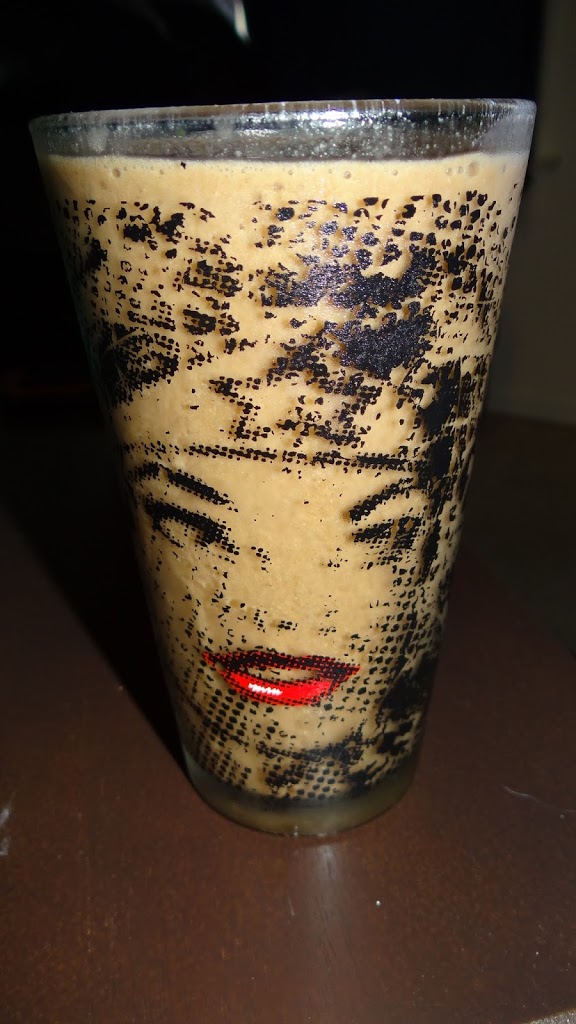
There will be a new workout posted tonight. In the mean time I wanted to share my healthy “Frappucino” recipe. 

This drink is delicious, easy to make in the morning (or anytime!), and keeps me full. It’s also helped me satisfy my sweet tooth during my 1 Month No Sweets Challenge (day 27! Woohoo!)

Feel free to experiment with your own additions, or substitute your favorite milk product. 

Ingredients:
-1 tall glass of coffee poured over ice (alternatively you can freeze an ice cube tray full of coffee, and use the frozen cubes)
-1 cup vanilla coconut milk (almond milk, soy milk, etc-look for unsweetened)
-1 Scoop Chocolate Protein Powder (I use Nutracore Lean Active 7-Chocolate Cake from Total Nutrition Mansfield)
-1/2 Banana (I usually pre-freeze my banana, but it’s good fresh too)
-Ice

Combine all of the ingredients in the blender and enjoy! Maybe it’s because I haven’t been eating sweets for 4 weeks, but it tastes like a milkshake if you leave out the coffee, and a delicious frozen coffee milkshake with the coffee. 🙂

Enjoy!
Melissa

Day 2: Abs Are Made in the Kitchen Food Log

Standard


Hi Everyone!

Today is Day 2 of my food logging/no sweets challenge. It’s been a good day! My energy is so much better. I didn’t even need my afternoon cup of coffee. 🙂 

No sweets cravings today. I am feeling great physically and mentally. 

Jesse is meeting one of our friends for a workout tonight. He is going to show me the core workout moves he does when he gets home. Our friend is a former Marine, and current police officer, and he said he has some great moves to share with us. 

Thank you to those of you who shared recipes today! Team Bender member, Haley, inspired my dinner when she shared her photo/recipe. (Thanks Haley!) I love cooking, and finding fun and healthy recipes to try out. I have also pinned a ton of recipes lately on my pinterest page: www.pinterest.com/BenderFitness.

So here is my food log. My first two meals were almost identical to yesterday. 

Breakfast:
(Egg Sandwich, Coffee with Unsweetened Coconut Milk)
1 Egg
Whole Wheat Sandwich Thin
Spinach
1/3 25 calorie cheese spread

AM Snack:
Snuck into my lunch and had a few celery stalks dipped in PB Greek Yogurt. 

Lunch:
Fresh Baby Spinach Leaf salad with cherry tomatoes
1/2 Avocado with egg, spinach and cherry tomatoes
Peanut Butter Greek Yogurt
2-3 Stalks Celery
Fresh Cut Pineapple (about 1 cup)

Peanut Butter Greek Yogurt, and freshly cut Pineapple


After Work Snack:
Aldi Chicken Salad Kit (1 serving crackers and chicken salad)
1 Slice Udi’s Gluten Free Whole Wheat Bread
1 tablespoon natural PB

Dinner:
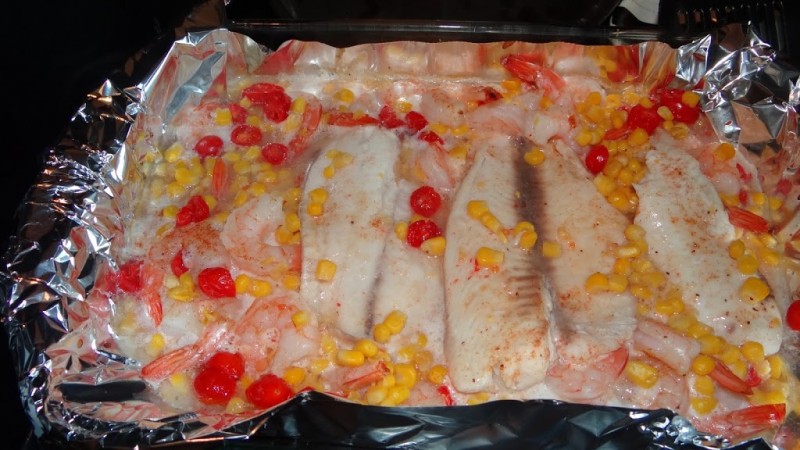
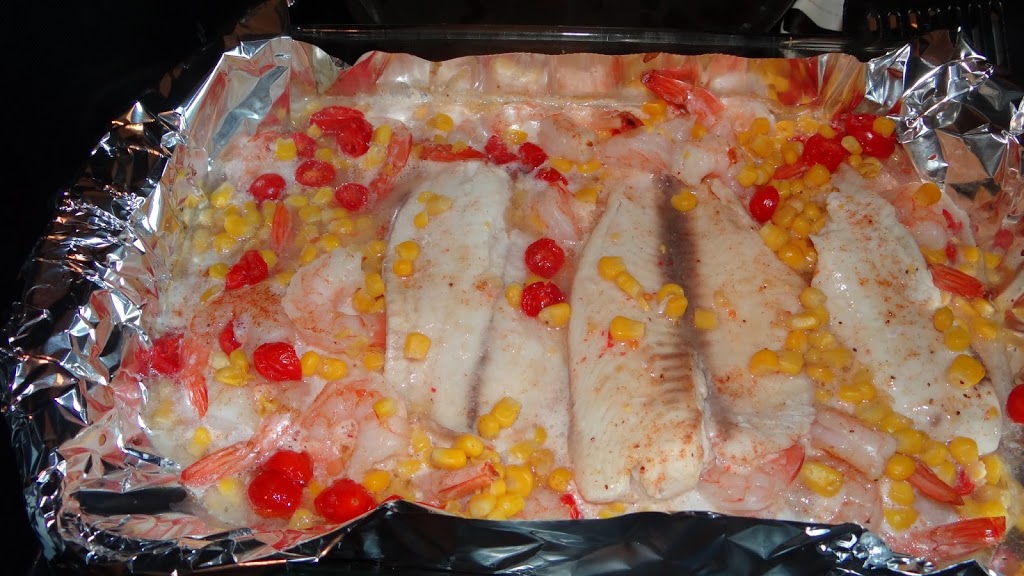
Baked Tilapia and Shrimp with lemon juice and Old Bay
Sliced Roma Tomatoes
Corn (I used sodium free, canned. Fresh would be even better)
Tortilla Chips
(*Jesse ate his as a soft taco with spinach leaves and Greek yogurt)

Baked Tilapia, Shrimp, Tomatoes and Corn in lemon juice and old Bay. 


After Dinner Snack:
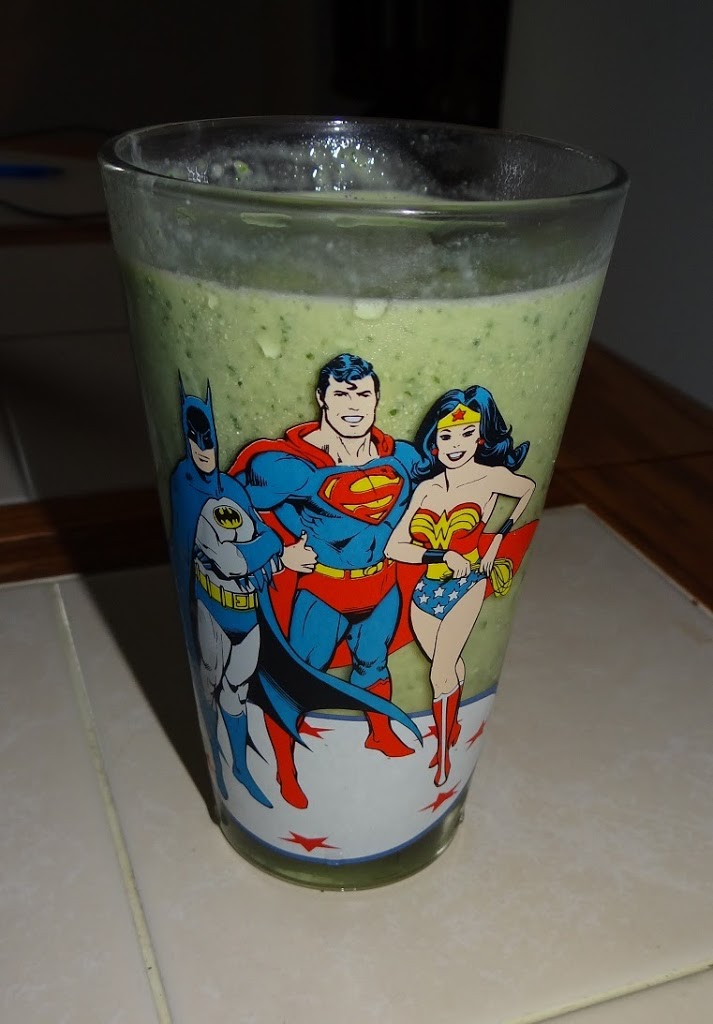
Spinach, Peach and Banana Smoothie

Totals:
Calories: 2129
Carbs: 201 grams
Protein: 162 grams
Fat: 82 grams
Fiber: 30 grams

Posts You May Like: 


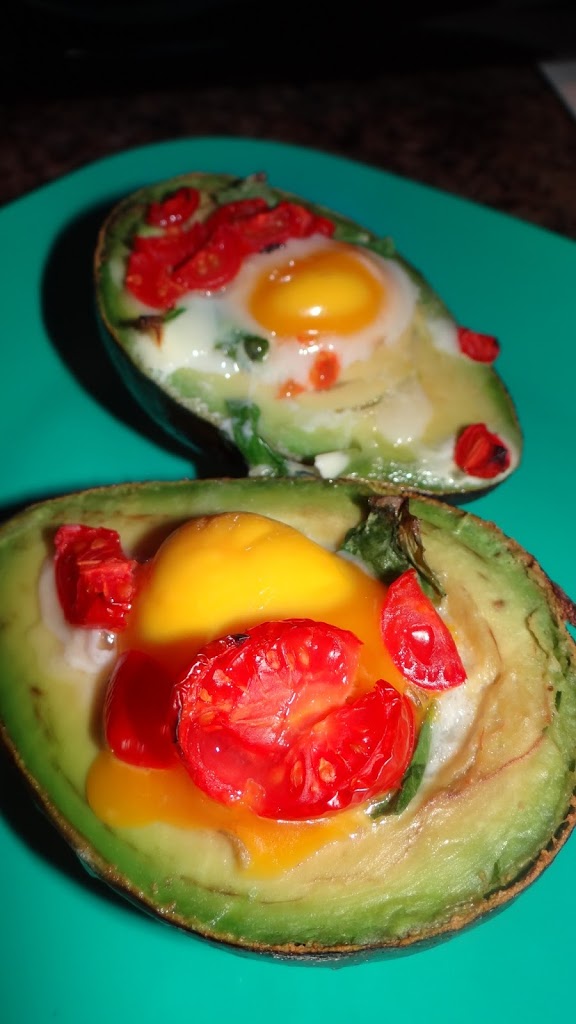
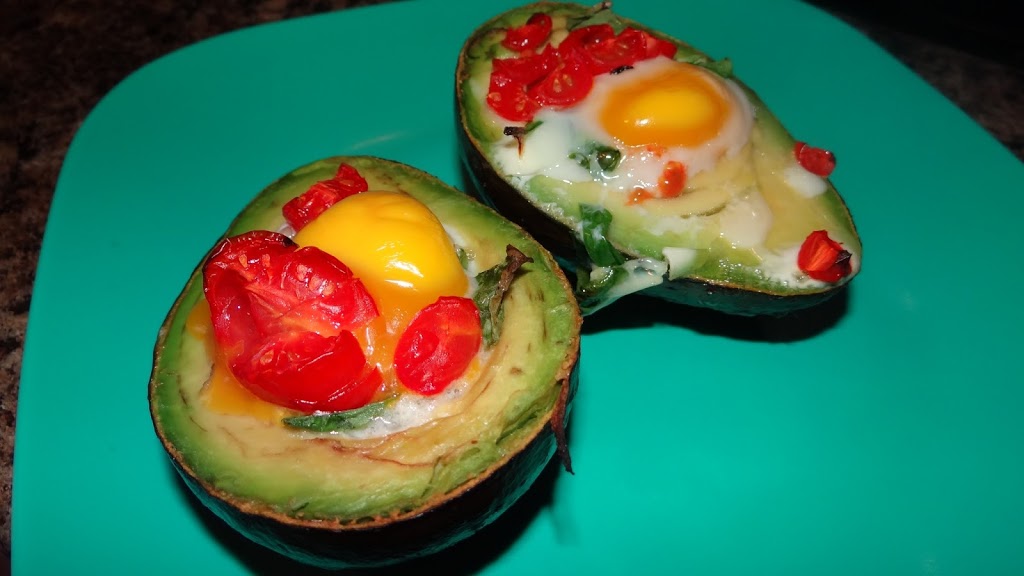
Baked Egg and Avocado Recipe

Standard
Hi Everyone!

This little gem of a recipe made it back onto my food log today. I tried it yesterday and it was fantastic so I saved the second one for lunch, and scooped it onto my fresh spinach salad. 

Many of you have been asking for the recipe so here it is! Feel free to experiment with toppings of your choice. 
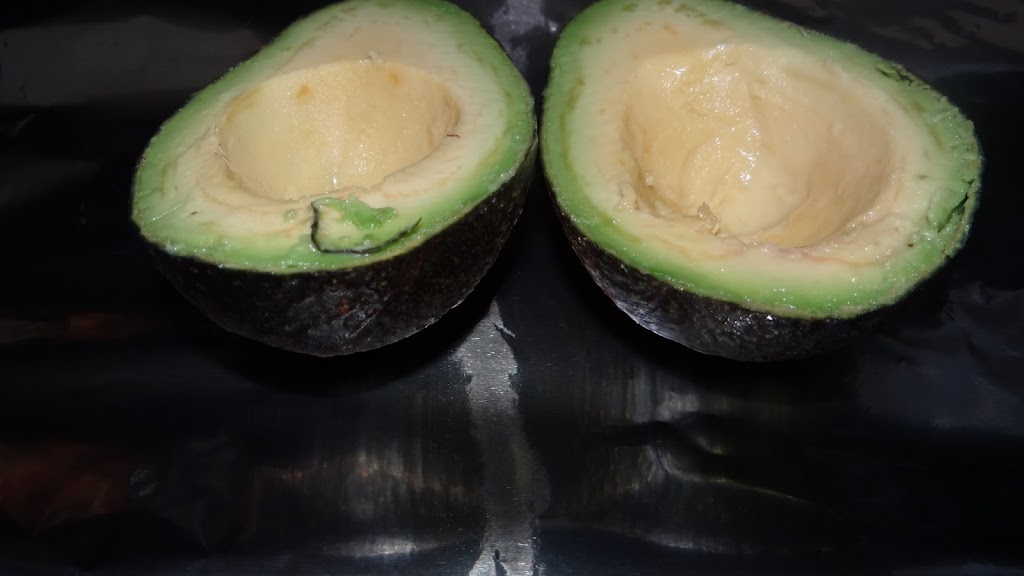
1. Preheat oven to 450 degrees. Cut and avocado in half and remove the pit. Use a spoon to scoop out a bit of extra avocado to make the pocket slightly larger. 

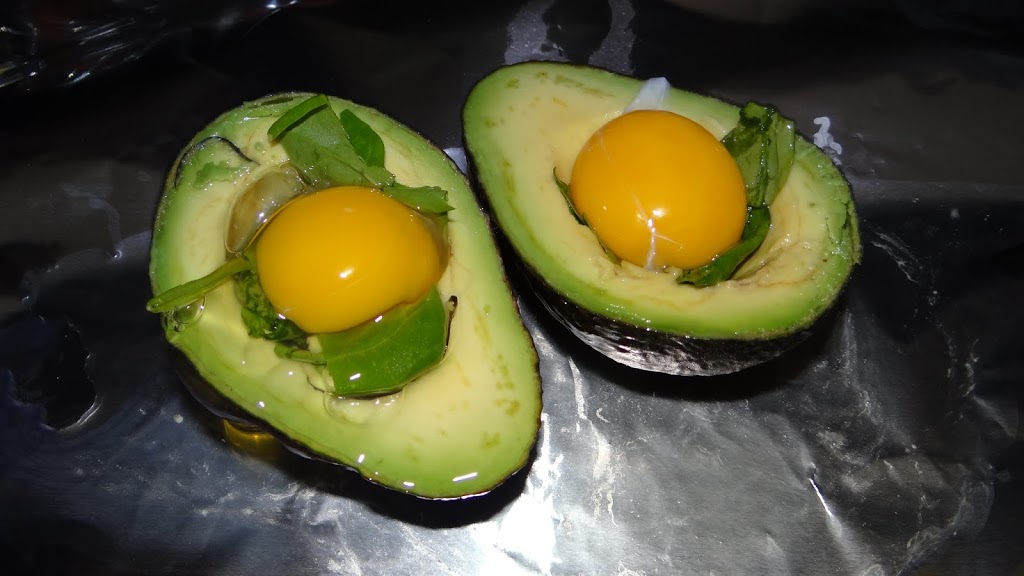
2. Squeeze a bit of fresh lime (lemon works too) over the avocado. Tear spinach leaves (or veggie of choice) into smaller pieces. Top each half with one egg. Optional: Fresh cracked pepper or roasted red pepper would be delicious. 

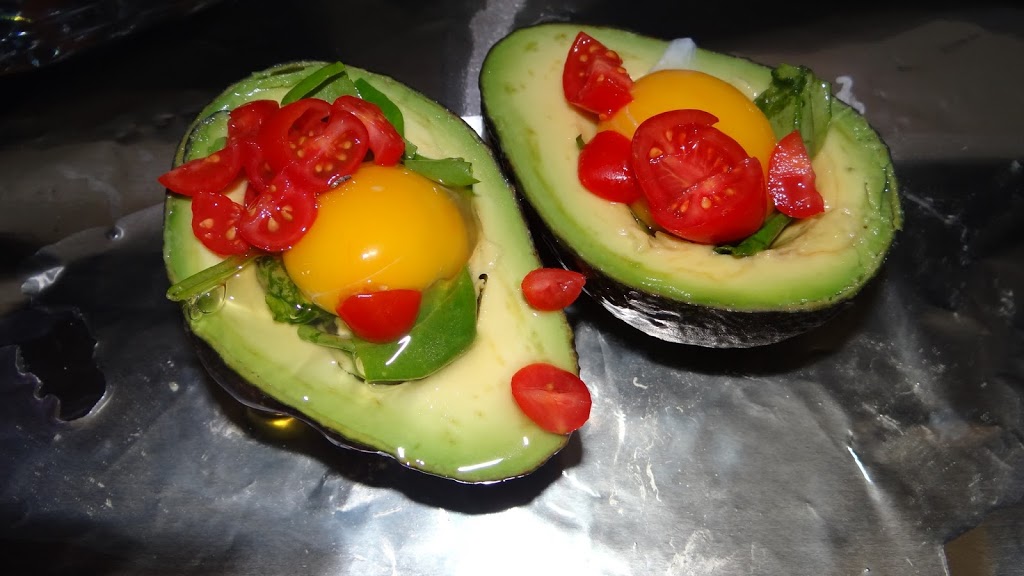
3. Top the egg with sliced cherry tomatoes. Place on a cookie sheet or baking pan. Bake for 12-16 minutes depending on how well you want the eggs to be done. 

4. Remove from oven and enjoy! I ate the first one right out of the shell, and the second one over a bed of fresh spinach and Roma tomatoes. 

Bean Salad: Easy, Quick and Healthy

Standard

Hi Everyone!

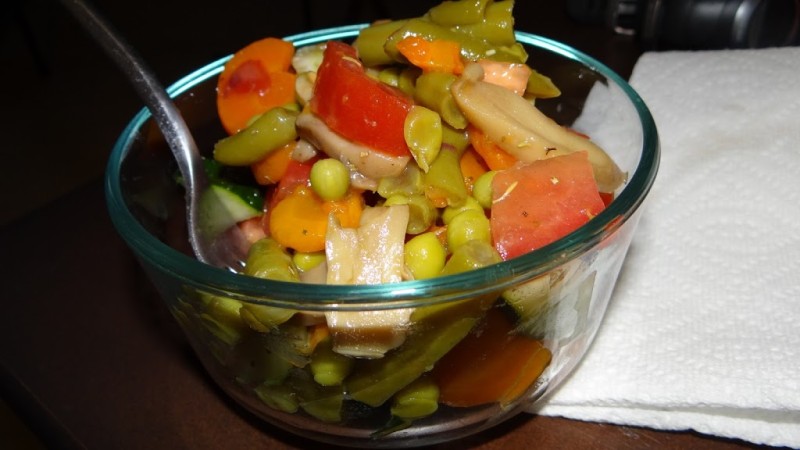
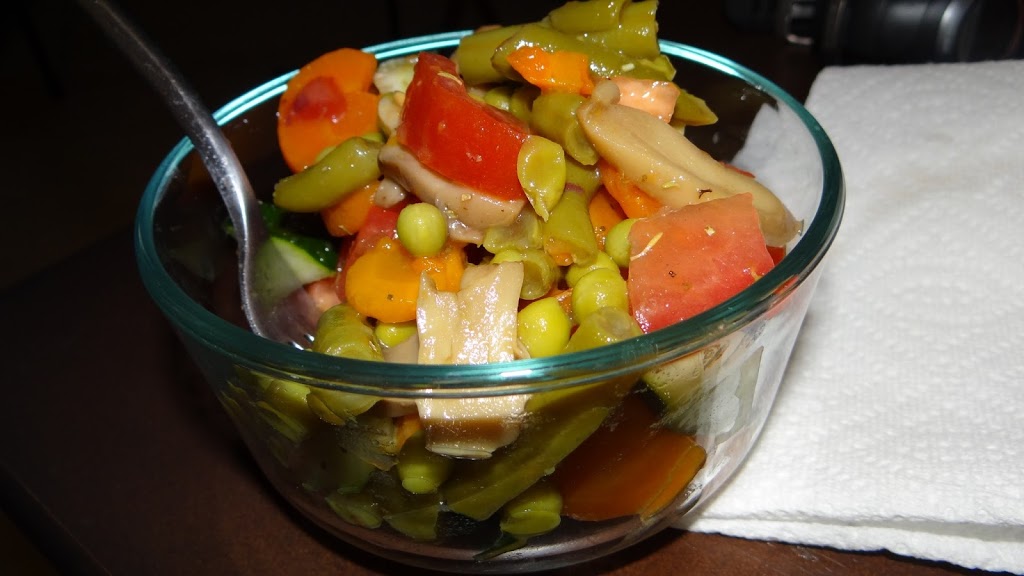
I was in a rush the other day so I threw together a healthy, bean and vegetable salad to keep in my refrigerator as a quick side (or meal). 

I used a combination of canned and fresh vegetables. If I had more time I would have run to the grocery store and used all fresh vegetables, but I needed something I could throw together quickly. 

You can be creative with this recipe, and use any vegetables you like. Usually I throw in some black olives, but I didn’t have any on hand. 

Vegetables should make up approximately 50% of your meals. If you’re not getting that amount it helps to start planning ways to add vegetables to your diet. Remember, vegetables are high in fiber, so you will need to increase gradually to prevent stomach discomfort. 

Ingredients: (All canned items can be substituted with fresh veggies)
1 can snow peas
1 can cut green beans
1 small can sliced mushrooms
1 can sliced carrots
1 can kidney beans
3 Roma tomatoes (diced)
1 cucumber (cut and sliced in half)
Fresh thyme, basil and oregano
3 tablespoons Italian Dressing (or flavor to taste)

Optional ingredients:
Olives
Feta Cheese
Salt and Pepper

Combine all ingredients in a large bowl. Stir or shake (I use a bowl with a snap on lid and shake to ensure the ingredients are combined, and everything is coated with the spices). 

Healthy Vegetable Grilled Cheese Recipe

Standard

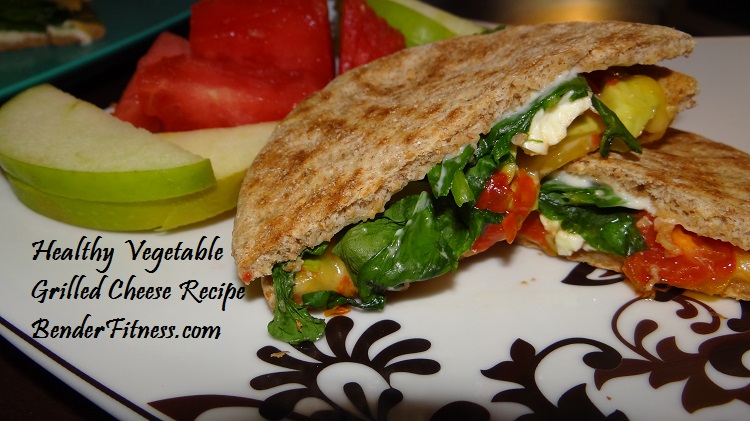
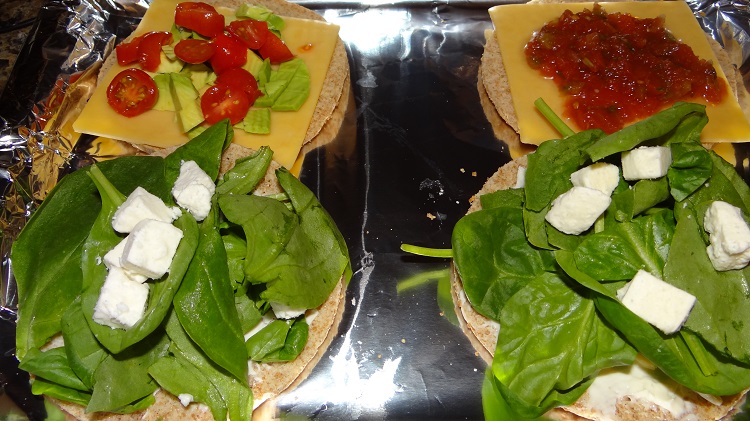
Tonight I felt like experimenting in the kitchen. I’m a fan of simple, tasty recipes. This vegetable grilled cheese sandwich was easy, delicious, and the flavor options are limitless!
I love avocado, but Jesse isn’t a fan, so I made his sandwich a little bit differently. 

Ingredients:

Melissa’s grilled cheese:
Whole Wheat Sandwich Thin (100 calories)
Fresh Baby Spinach
1 Slice All Natural Gouda Cheese
Avocado (cubed)
Sliced Cherry Tomatoes (about 3)
Feta Cheese (about 5 cubed chunks)

Jesse’s grilled cheese:
Whole Wheat Sandwich Thin (100 calories)
Fresh Baby Spinach
1 1/2 Slices All Natural Gouda Cheese
Tablespoon All Natural Salsa
Feta Cheese (about 5 cubed chunks)
1/2 Laughing Cow Spreadable Cheese Wedge (Monterrey Jack and Cheddar)

Ready to go in the oven

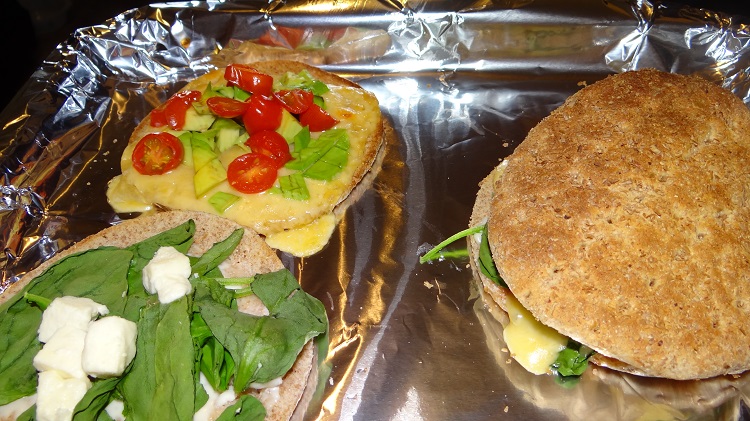
I cooked these in my convection oven on the “Toast” setting for about 3 minutes. If you don’t have a convection oven you can use a panini maker, foreman grill, or cook them in the oven or broiler.  I left my sandwich open faced to cook so I could monitor the melting cheese. I closed Jesse’s sandwich. I wanted to see if either way worked better. The open faced method led to a slightly crispier sandwich. 

If you are using a different bread you may have to toast your sandwich a bit longer. Monitor to be sure the cheese is melting, and cook until bread reaches desired toast level. You can also lightly pre-toast the bread before heating. This method significantly reduces the number of calories found in a typical grilled cheese sandwich (which is slathered in butter, and served with white bread).  
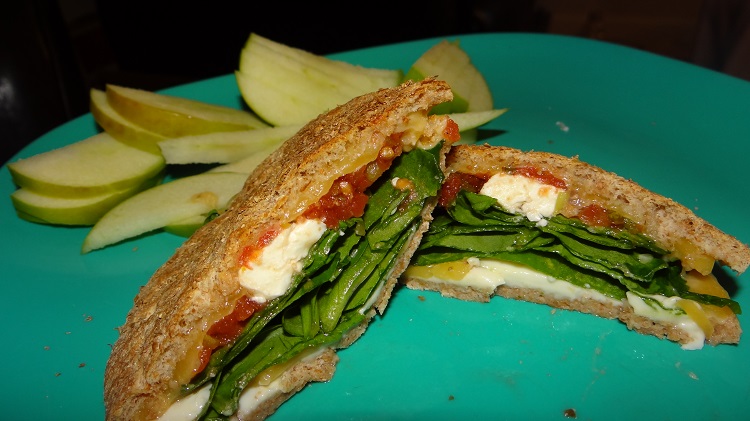
Fresh From the Oven

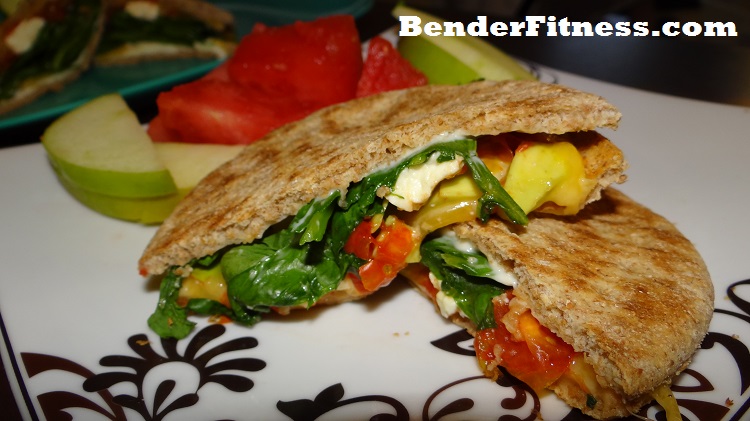
I served both sandwiches with sliced granny smith apples. Jesse said that it was “fantastic” and he “really enjoyed it.” His sandwich was spicy and flavorful. I ended up putting some apple slices on half of my sandwich, and it added a whole new delicious element to the flavor. It was a refreshing summer meal, served with a side of watermelon.  

Jesse’s Sandwich with Sliced Granny Smith Apples

Melissa’s Sandwich Served with Sliced Granny Smith Apples and Watermelon

Happy Meatless Monday! 

Healthy Vegetable Pasta Recipe

Standard

Hi Everyone!

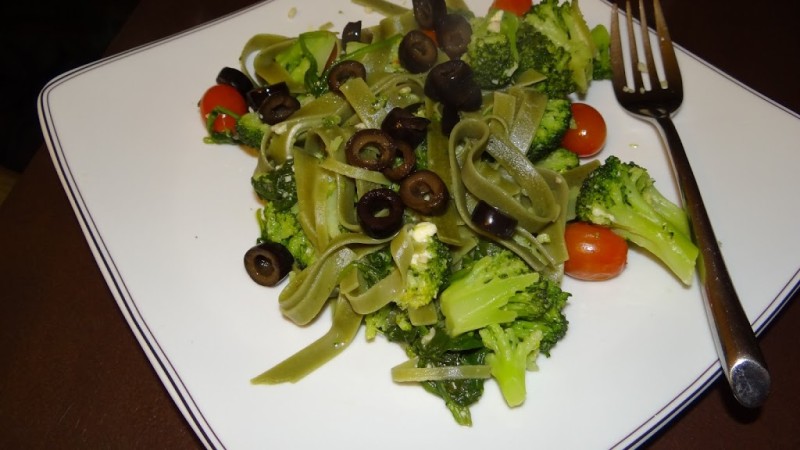
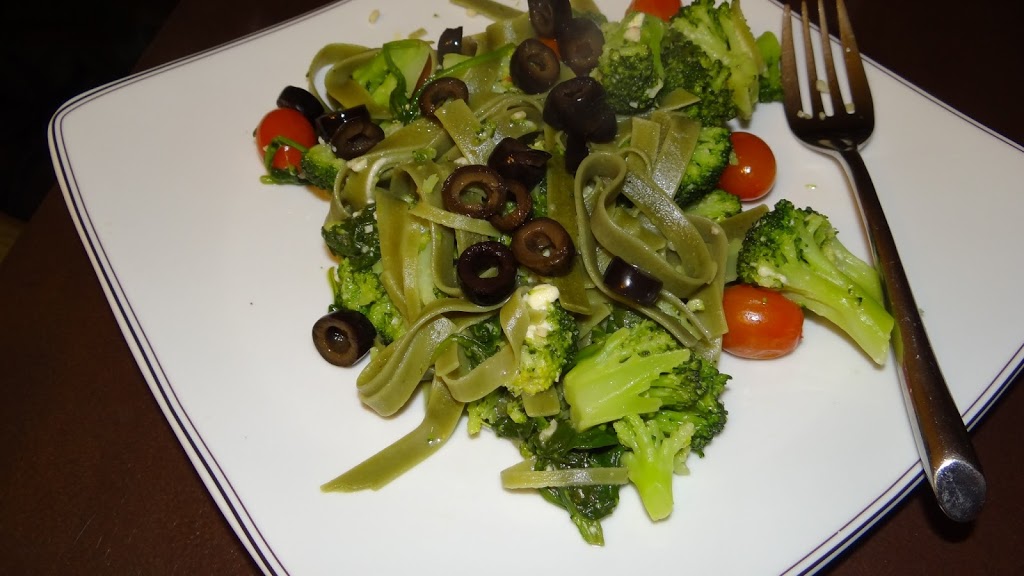
This is a simple and healthy vegetable pasta recipe. If you’re like me it can be difficult to limit yourself to just one serving of pasta. Even as a child I loved to eat plain pasta noodles. When I was in college I worked at an Italian restaurant with super sized portions. I could never cut pasta out of my diet, but I try to make healthful food choices. For me one of the best ways to eat pasta in a healthy way is adding a lot of veggies. 

I like this article on how to measure one serving of pasta: Measure Dry Pasta

The recipe is below. The added vegetables allow me to enjoy my pasta without overdoing it, while still having a delicious and filling meal. Enjoy, and remember if there is something in this recipe you don’t like take it out and substitute something else! I didn’t use any meat, but this would also be good with chicken or shrimp. 

Melissa

Ingredients:

-Spinach Fettuccine Noodles (2 servings) (you can use a pasta of your choice)
-1 tablespoon of Extra Virgin Olive Oil
-1/2 tablespoon minced garlic
-2 cups chicken or turkey broth (low sodium) (To make this recipe vegan use vegetable stock)
-Vegetables of choice: I used 4 cups broccoli, 1/2 cup cherry tomatoes  4 cups of spinach, and sprinkled the top with sliced black olives. I would have added some artichoke, but I didn’t have any on hand. 
-Optional: lightly sprinkle the finished product with feta or Parmesan cheese. A little goes a long way!

Directions:

-Boil water and prepare pasta as directed on the box. 
-In a separate pan heat olive oil and garlic over medium heat. 
-Add broth of choice to the pan. 
-Add harder vegetables first (for example if you are using carrots add these so they are able to cook longer). The vegetables I used are all softer so I added everything except the spinach and olives at the same time. 
-Allow vegetables to cook to desired tenderness, stirring occasionally. Add spinach and cook 1-2 minutes. 
-Strain Pasta.
-Add pasta to pan with vegetables, and mix together. 
-Serve Vegetable Pasta. If desired sprinkle with feta cheese and black olives. *You can add the olives at the same time as the spinach, but Jesse doesn’t like olives so I added them separately.